User administration - Azure
Register Entra application
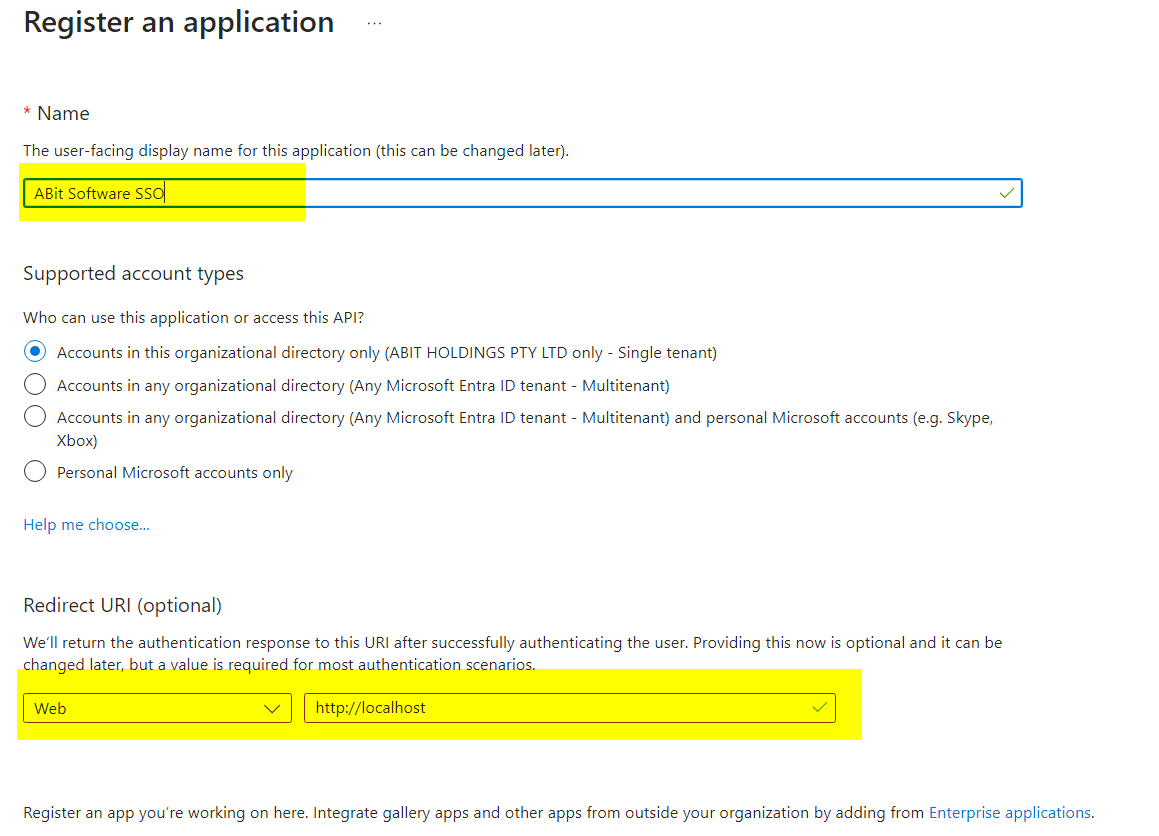
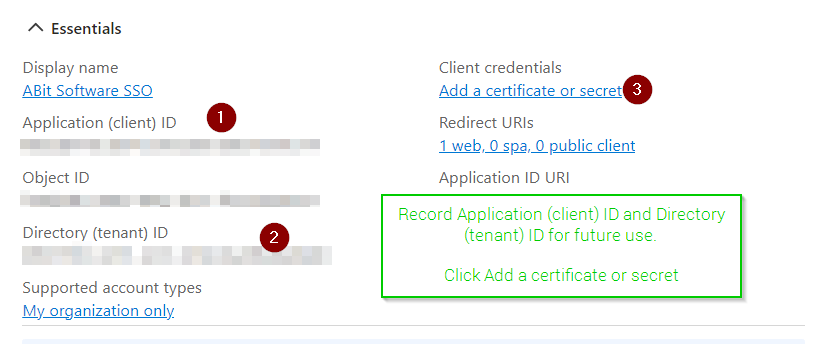
Basic application setup
|
|
Create a new application and allow Web URL of http://localhost |
|
|
Record Application (client) ID and Directory (tenant) ID for future use.
Click Add a certificate or secret |
|
|
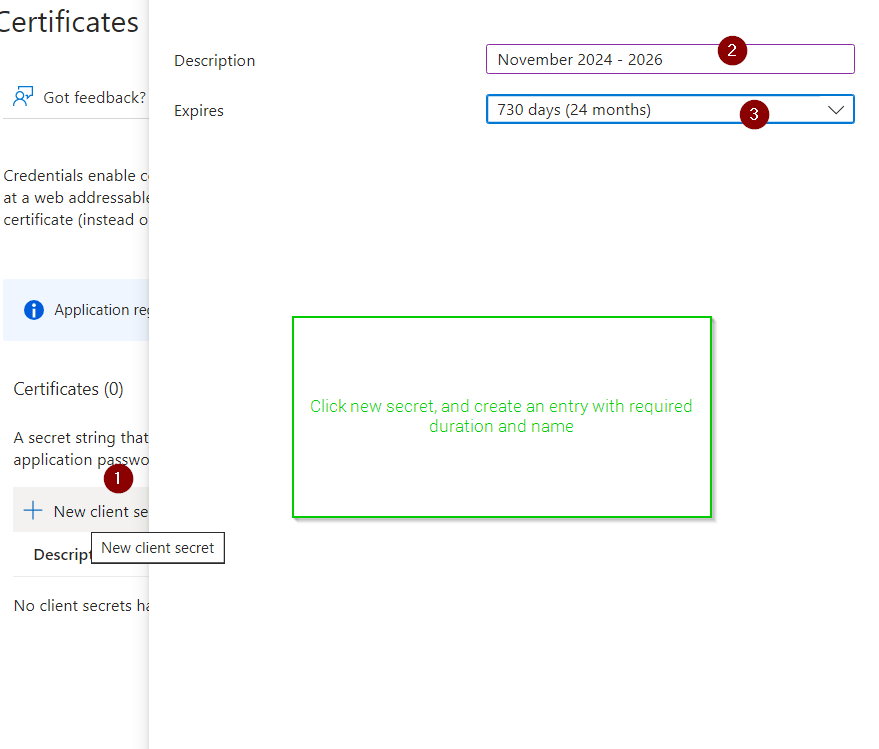
Click new secret, and create an entry with required duration and name |
|
|
Copy the value.
NOTE: you cannot view this value again. |

Allow groups for authentication restrictions
|
|
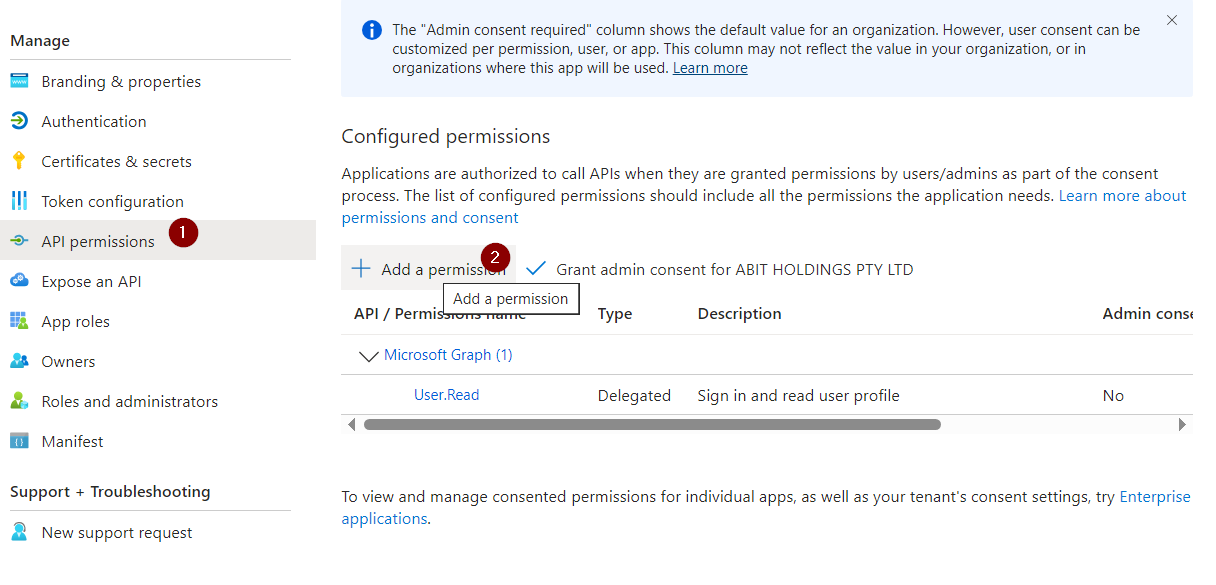
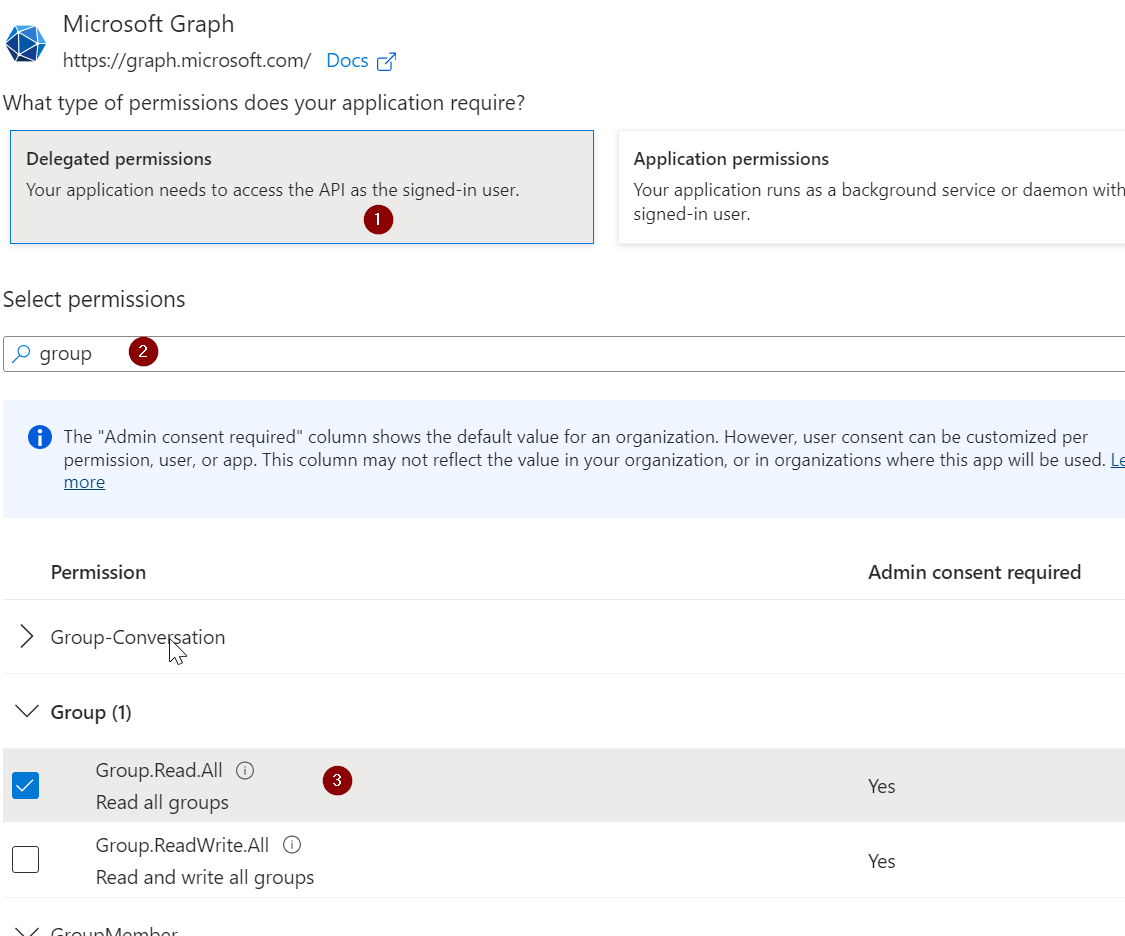
To access group details the API needs Group.Read.All application permission |
|
|
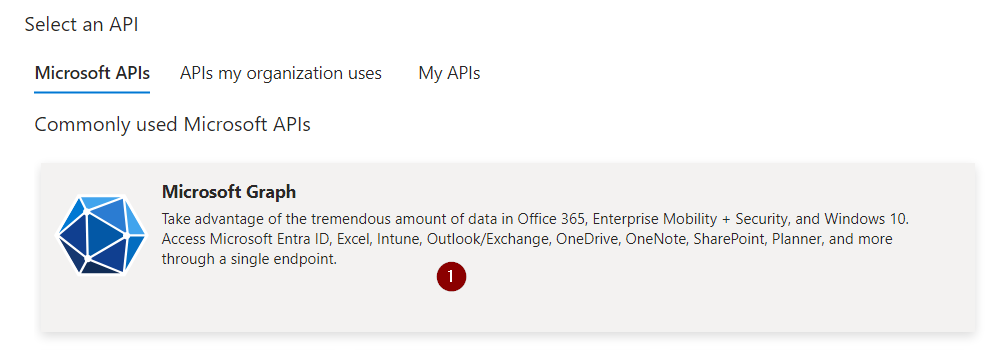
Select Microsoft Graph |
|
|
Select delegated permissions and search for group to add Group.Read.All |
|
|
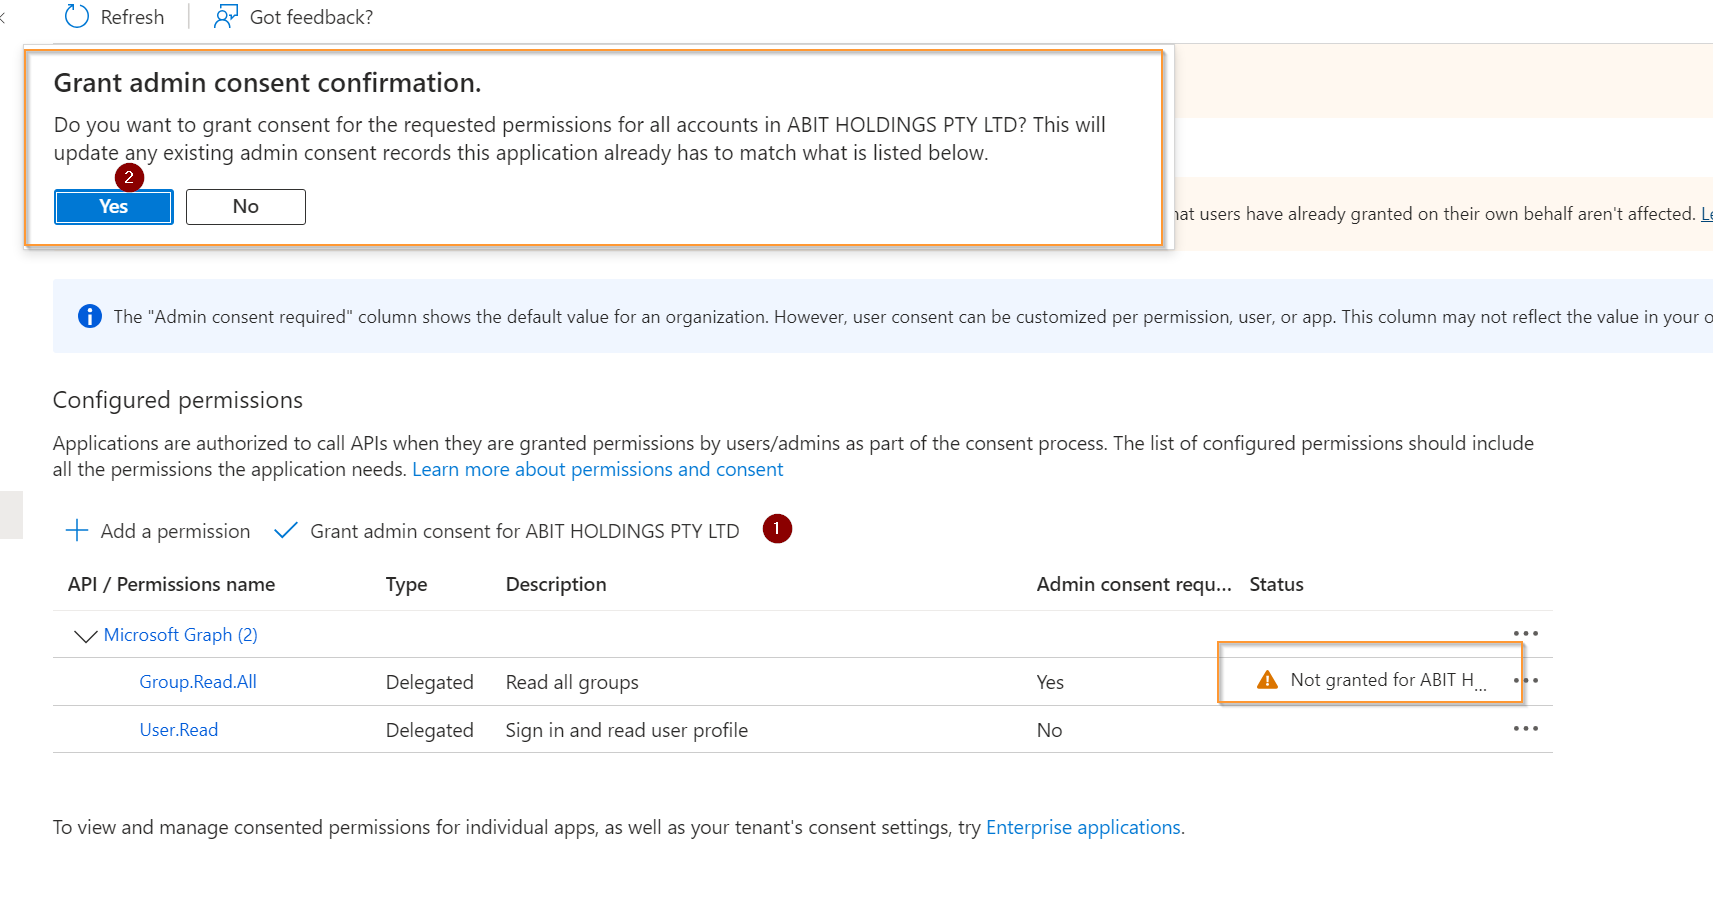
Confirm admin consent |
Update global settings
You will need the Azure clientid, applicationid and secret from the Azure Application
|
|
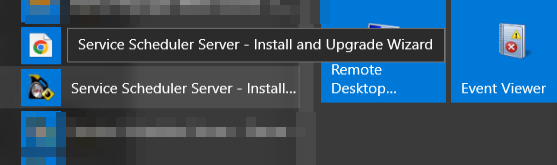
Start the Service Scheduler Install / Upgrade wizard on the server |
|
|
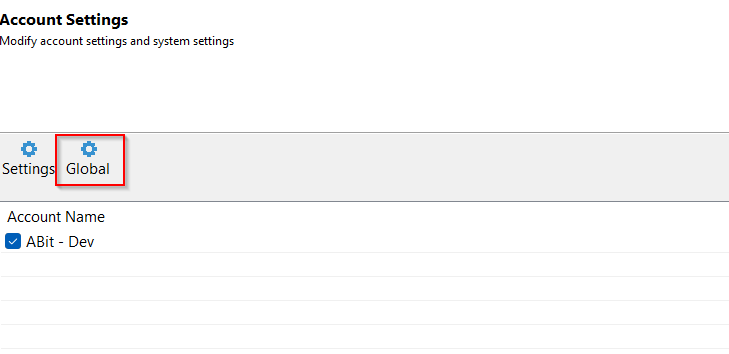
Click next until the Account Settings page and select "Global" |
|
|
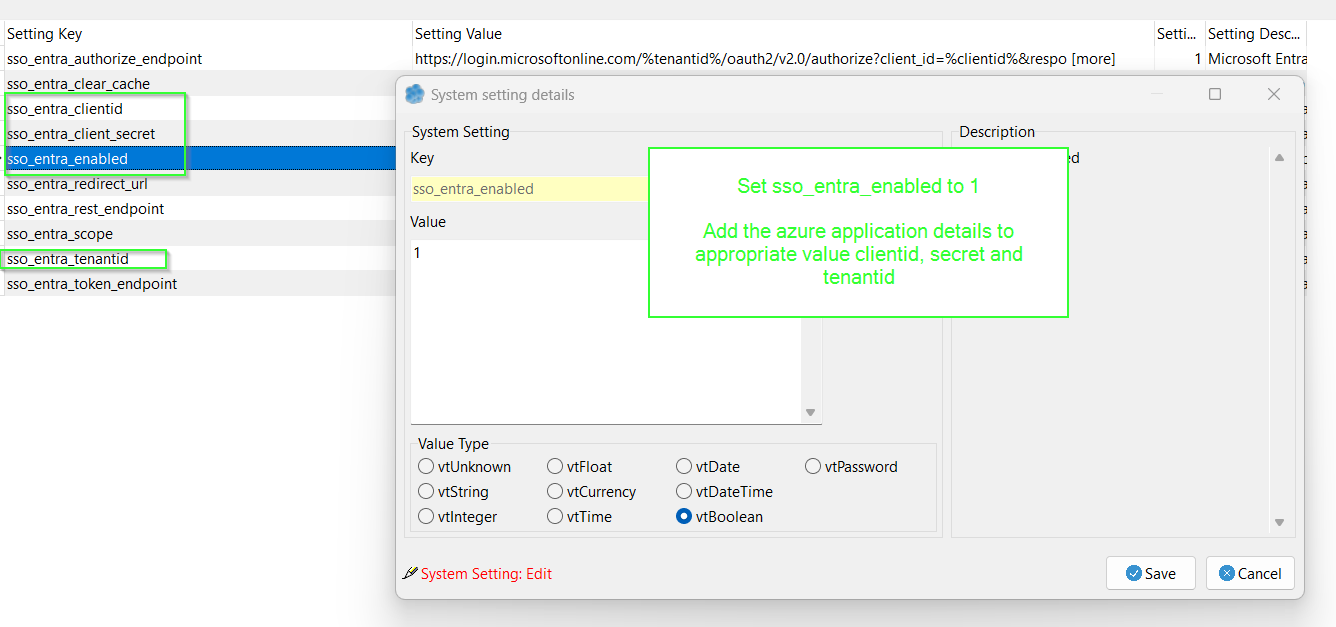
Set sso_entra_enabled to 1
Add the azure application details to appropriate value clientid, secret and tenantid |
Stop service scheduler for prompting for account on login
|
|
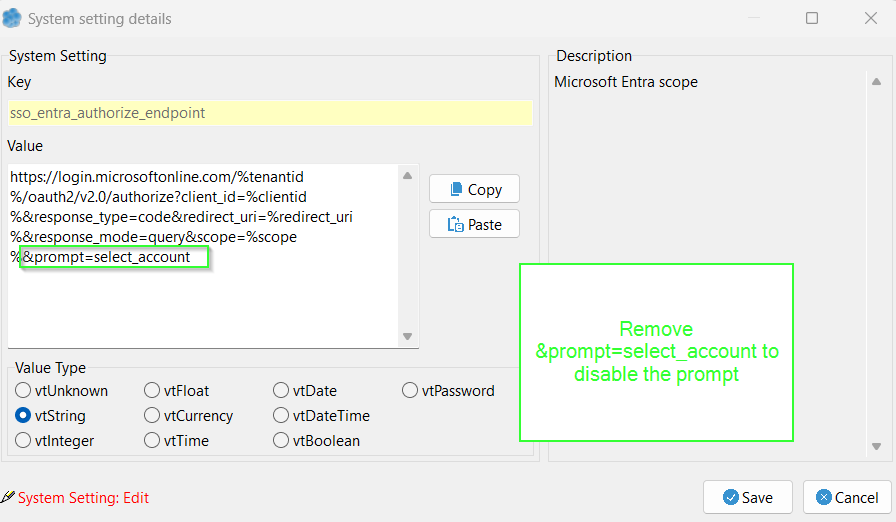
To stop the prompt adjust global setting sso_entra_authorize_endpoint |
|
|
Remove the &prompt=select_account to disable. |
Limit access to groups / UPN
For groups to work the Microsoft Entra application will need Group.Read.All permission
|
|
Start the Service Scheduler install and upgrade wizard |
|
|
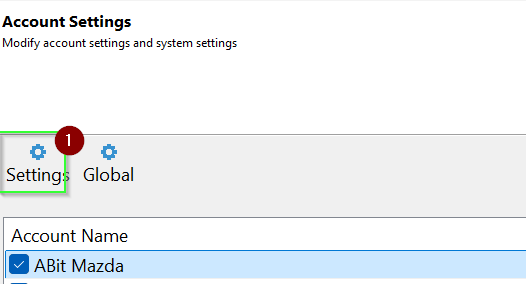
Select settings |
|
|
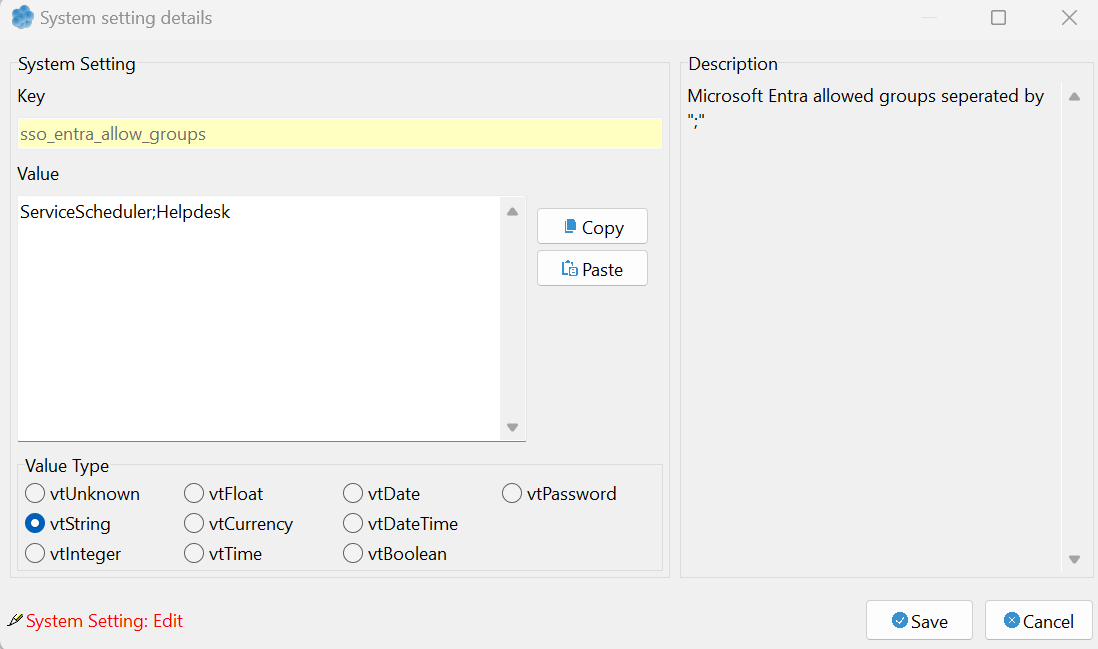
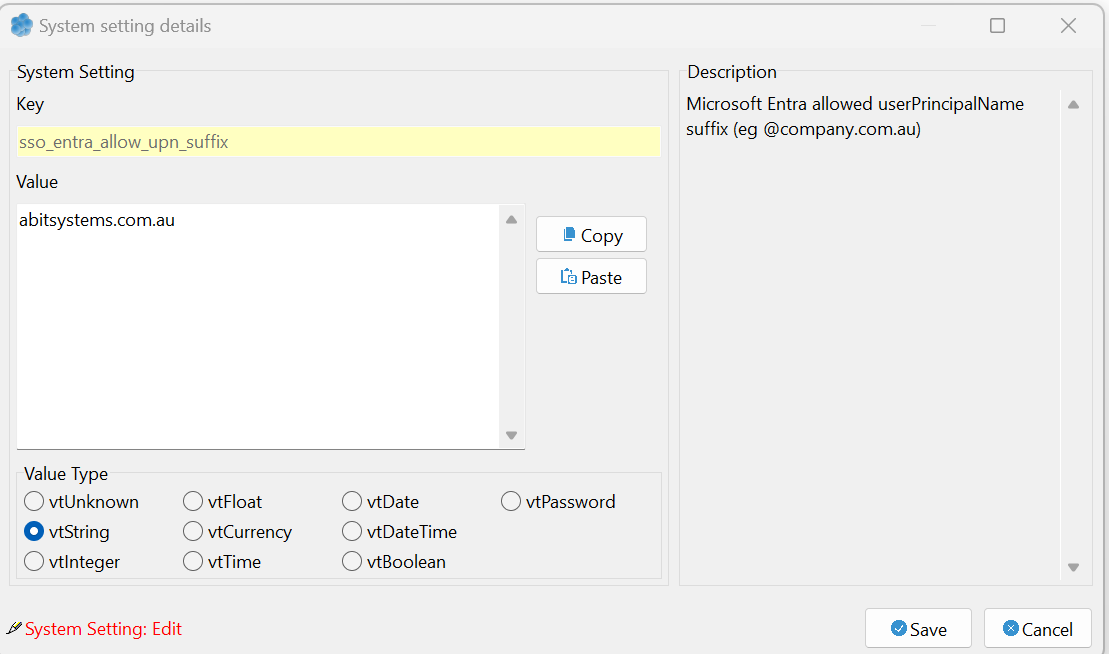
Locate the settings sso_entra_allow_groups and sso_allow_upn_suffix |
|
|
To limit access to certain group, add the group names separated by the ";" character. |
|
|
To limit to user UPN suffix enter the userPrincipalName suffix |