Service Scheduler - Administration
- Updating registration details
- Service Scheduler - server installation guide
- Zero config / Auto Discover
- System settings
- User administation
- User administation - account switching
- User administation - global user
- SMS Integration
- User administration - Azure
Updating registration details
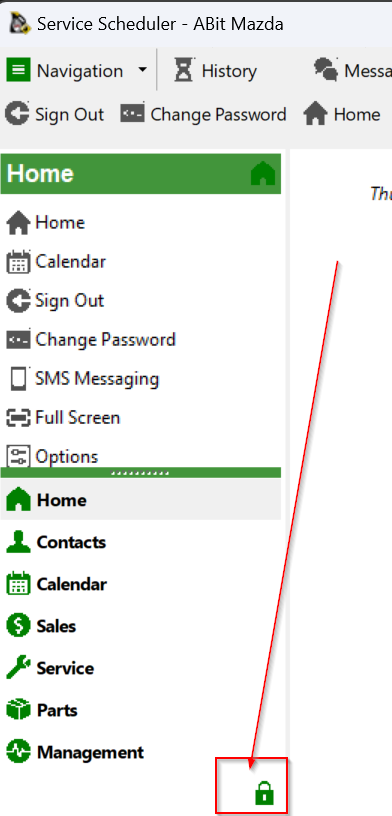
Login as an administrator user
Select the system menu (or padlock)


Enter the new key and press save

Service Scheduler - server installation guide
MySQL
Zero config / Auto Discover
See this guide for detailed setup of Zero config
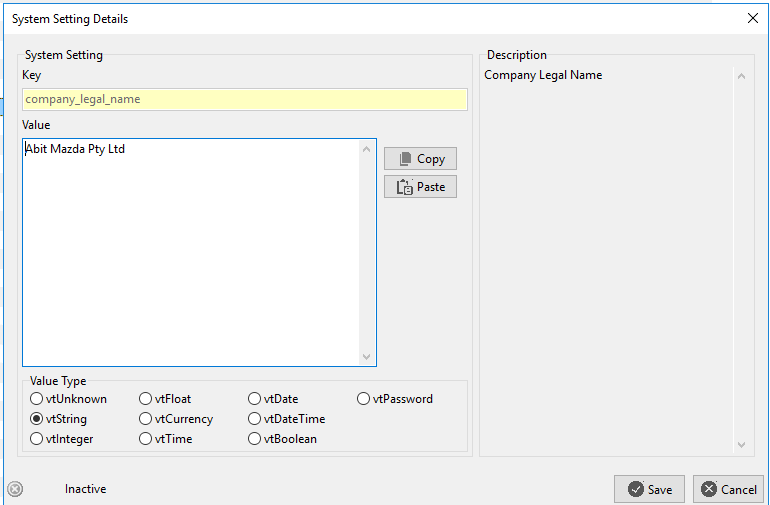
System settings
System settings contain many default and system options for Service Scheduler. Care should be taken before adjusting these settings.
NOTE: For changes to apply it is recommended that users restart the application
To access system settings
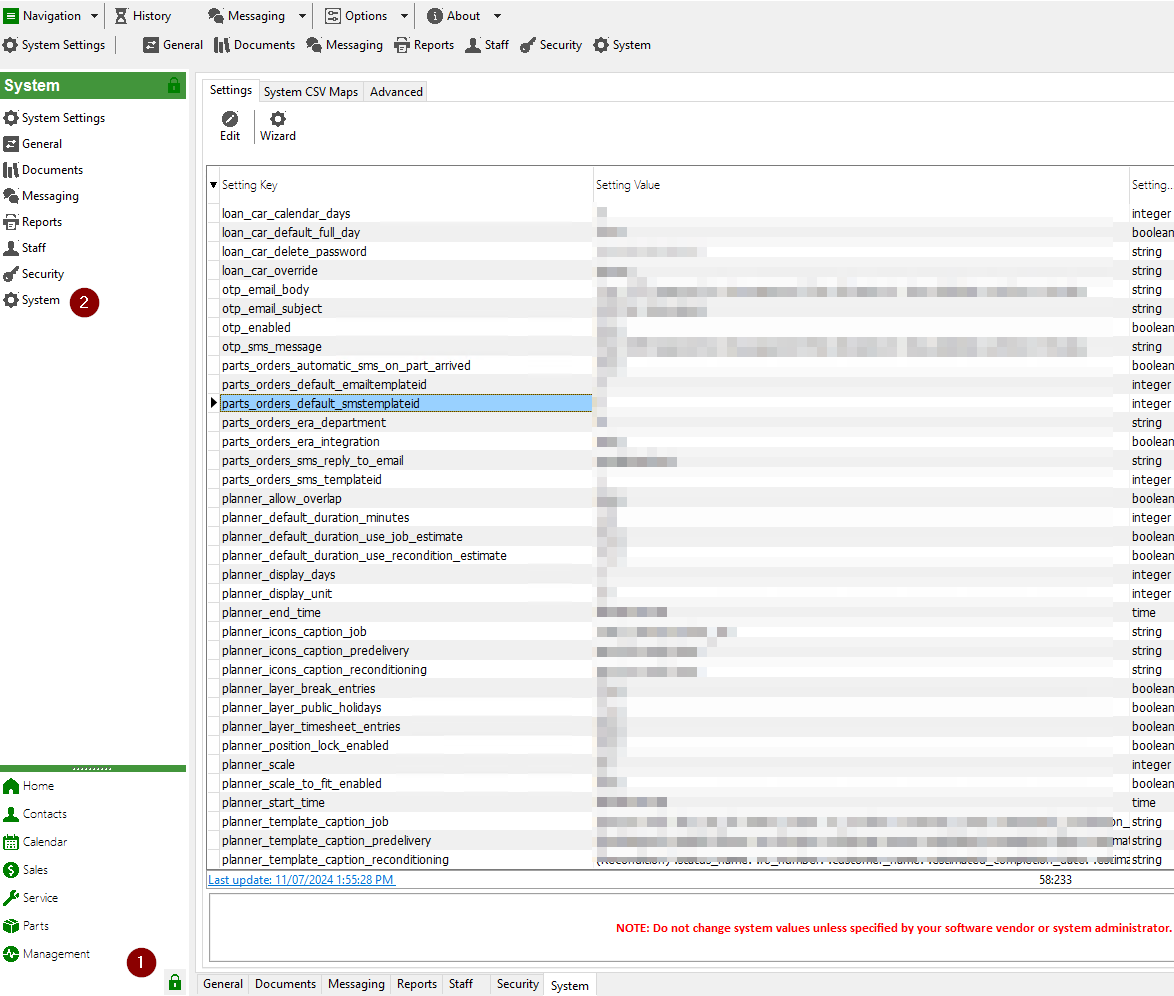
Edit a setting to make changes
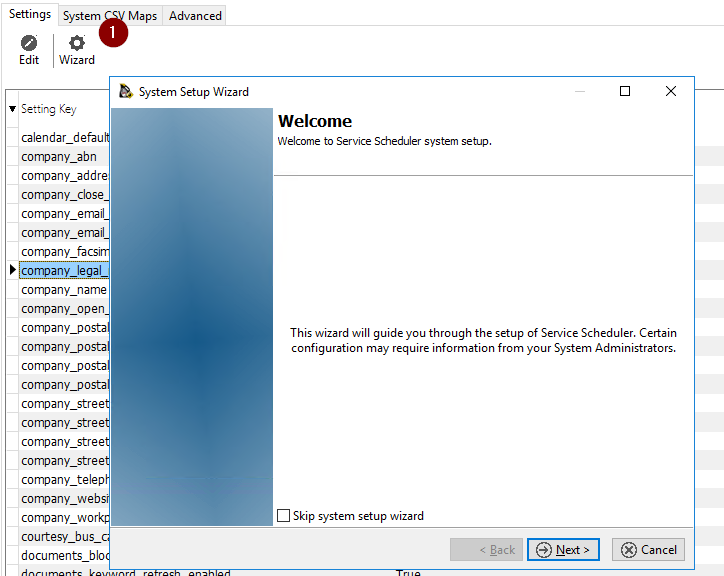
System setup wizard
A wizard is available to prompt an administrator through common system settings
User administation
Select administration area
Local user accounts
Creating a new staff member
Start the new staff wizard, enter required information if the user is required to login check the "Allow login" box
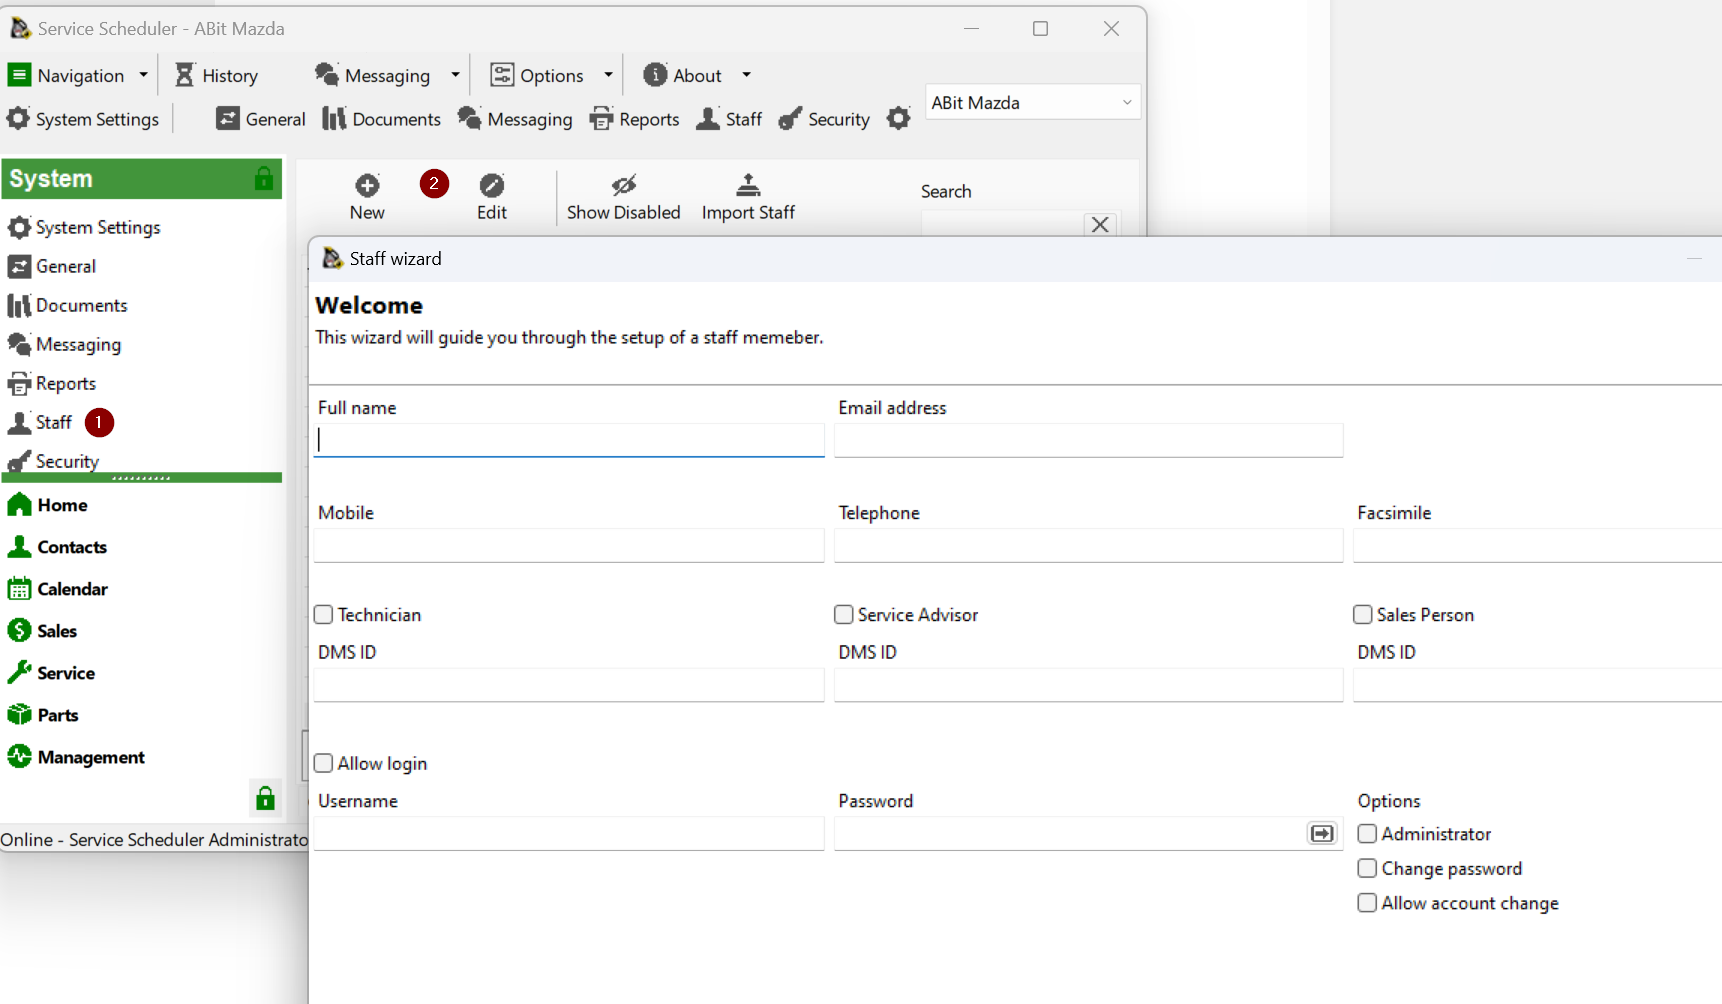
You can use the generate password button to create a password

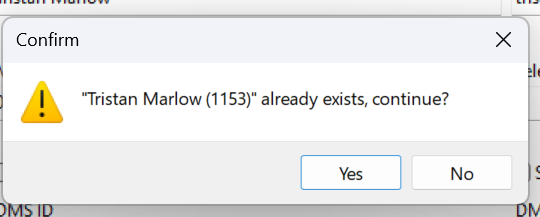
Service scheduler will check for a similar name to ensure that the user
Edit existing staff member
To find a staff member that has had their account disabled. Select the following button
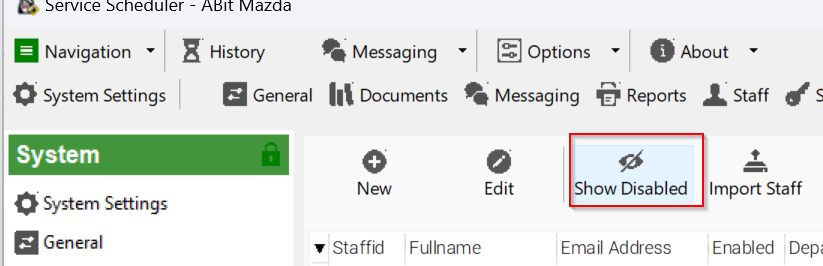
Adjust user details as required

LDAP Integration (Active Directory)
To enable LDAP integration, navigate to system settings and search for "ldap"
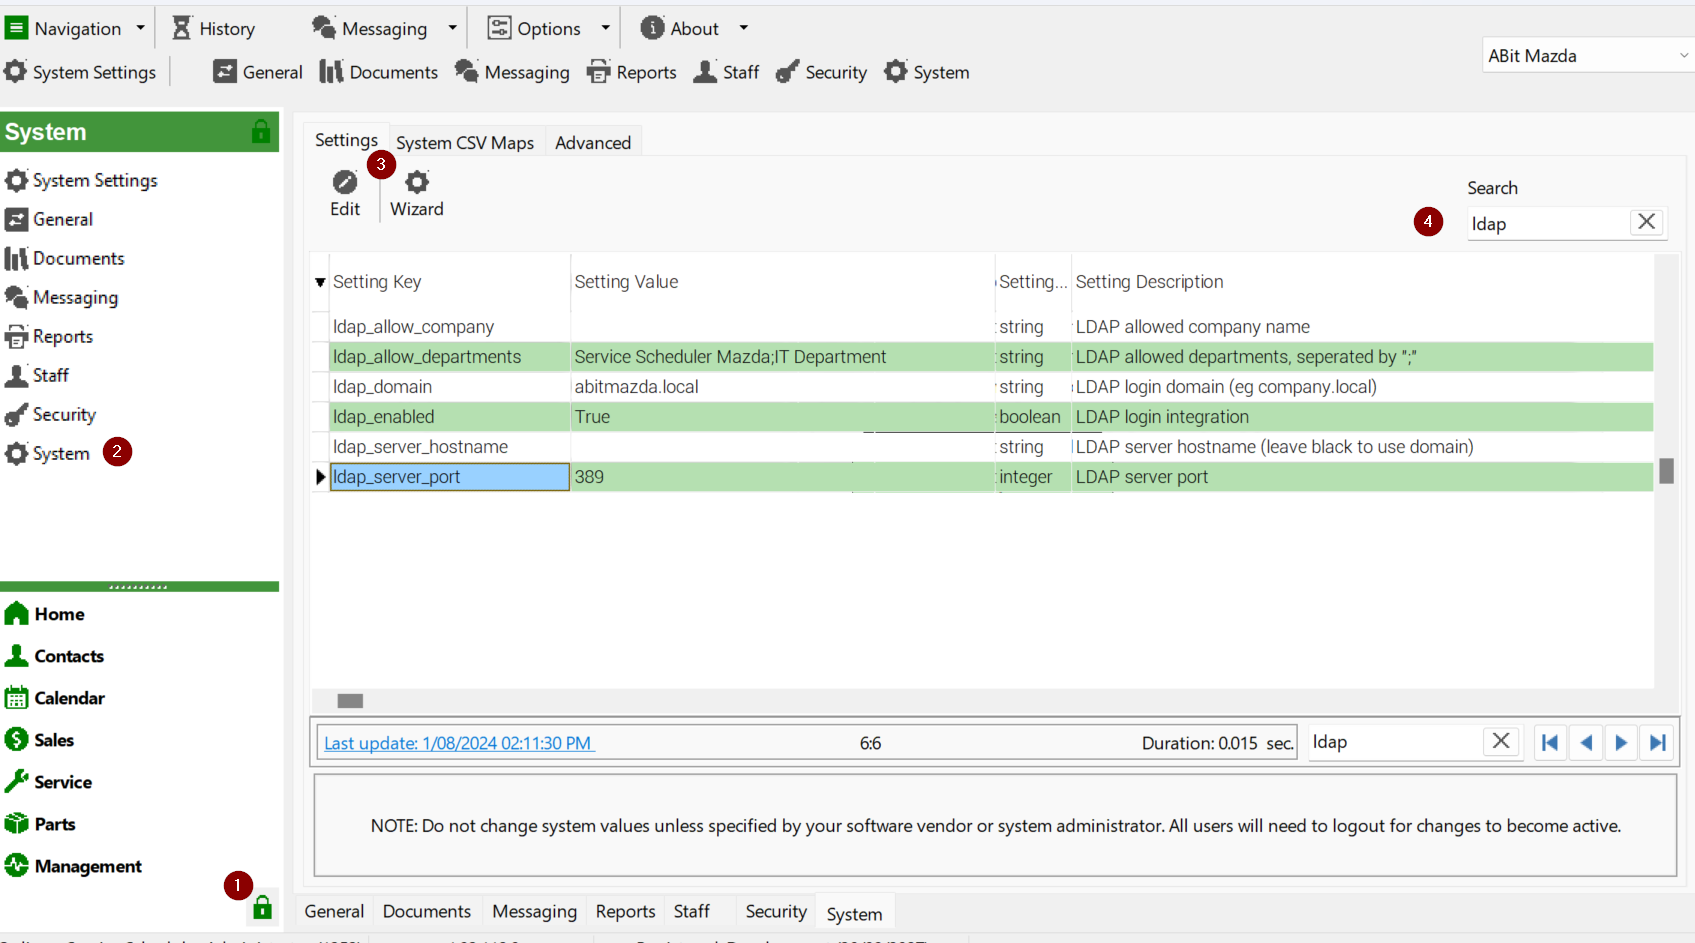
| ldap_allow_company | This will look at the users "company" and if matches will allow login/ Blank will allow any company value. |
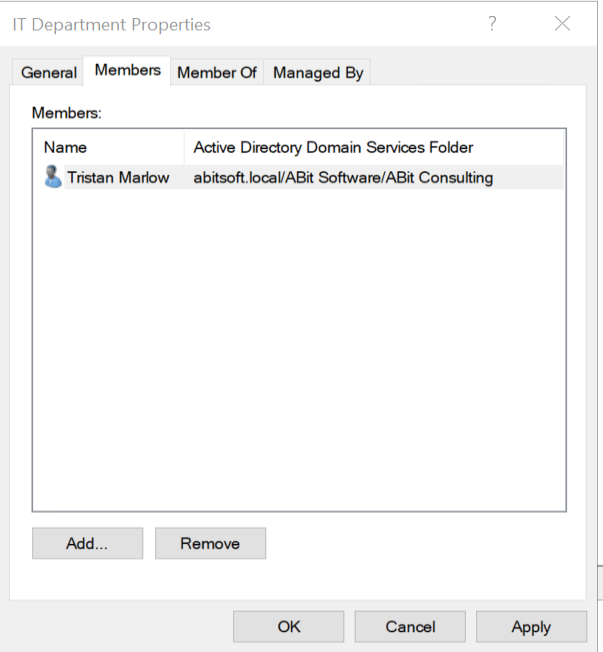
| ldap_allow_departments | This will look at group the user is a member of and if they match a group name |
| ldap_domain | Your LDAP / Active Directory domain name |
| ldap_server_hostname | The domain will be used to find a server via DNS but a specific server can be specified. |
| ldap_server_port | Port to communicate for LDAP requests |
Departments / Active Directory groups are the recommended method of controller
As the password is controlled by LDAP, attempting to change the password will result in "User passwords are managed by LDAP integration"

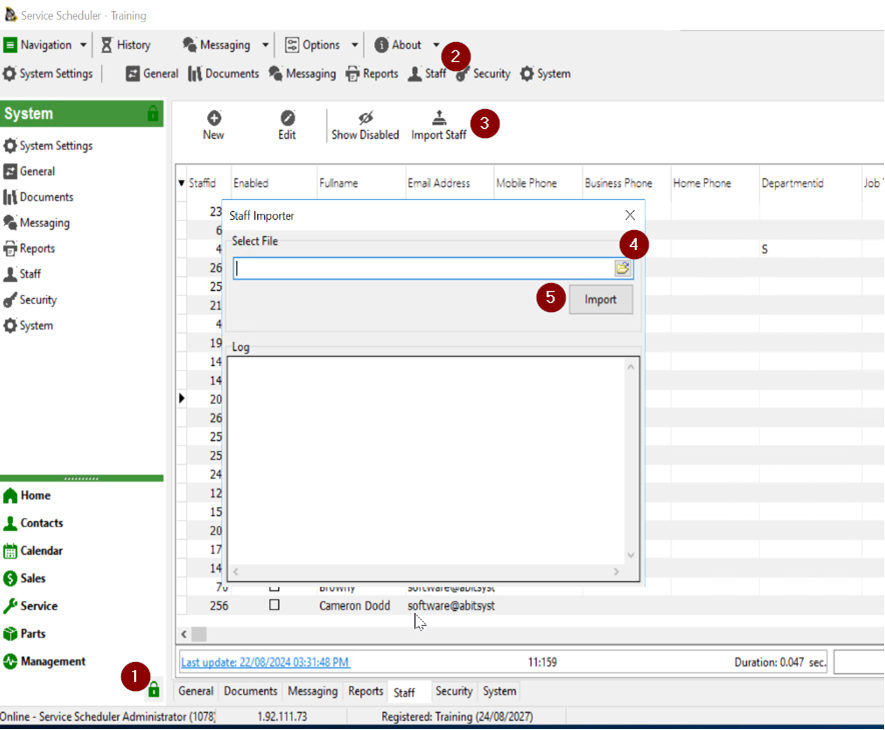
Bulk Import
Create a CSV file with the following format.
| dmsid | fullname | email_address | username | password | administrator | advisor | technician |
| Joe Boss | joe.boss@company.com | joe.boss | #password2024! | 1 | 0 | 0 | |
| Joe Advisor | joe.advisor@company.com | joe.advisor | #password2024! | 0 | 1 | 0 |
User administation - account switching
When multiple dealerships are setup in Service Scheduler, users may be granted access to swap between sites without logging out and logging back in.
 |
|
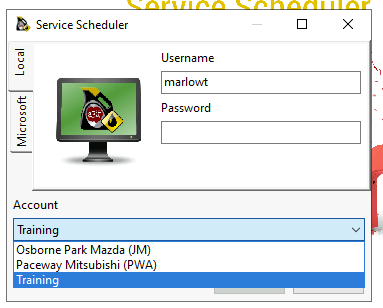
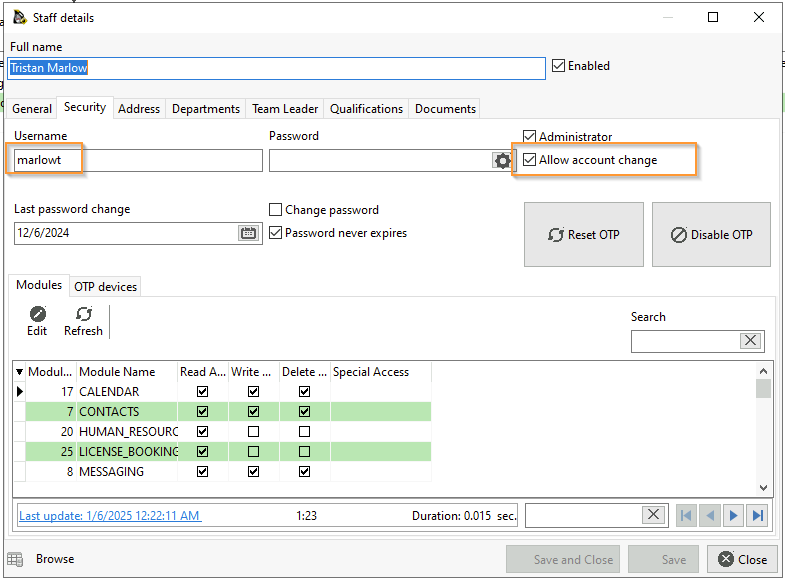
To enable, "Allow account change" must be checked in each account they are allowed to swap from. And the user must exist in all accounts with the same "username"
The passwords do not need to match, however in a local account setup it is recommended to avoid confusion if the user attempts to login to an account from the login dialog.
User administation - global user
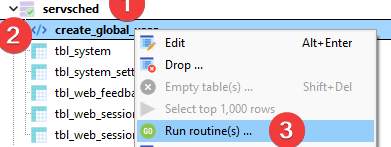
Open HeidiSQL


1 = administrator, 0 = standard user
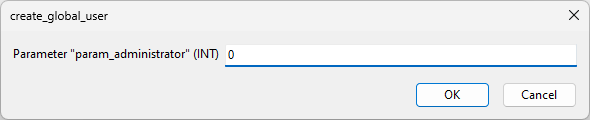
Right click and press Run (or F9)
if you had more than one user you can add multiple lines, just ensure each line ends with ';'
CALL `create_global_user`('Bob Johnson', 'bob.johnson@company.com', 'bob.johnson', 'unhackable', '0');
CALL `create_global_user`('Jane Johnson', 'jane.johnson@company.com', 'jane.johnson', 'unhackable', '0');
SMS Integration
SMS messaging is an optional component. Messaging is provided by irwinSolutions Pty Ltd (http://www.irwinsolutions.com/) where credit can be prepaid.
Enable integration
SMS settings are located in System -> System -> Setting

Once and account has been provided set sms_integration to 1 and update sms_username and sms_password with credentials.
If you would like customer SMS replies to go to an email address set sms_default_reply_email
SMS replies are possible back to Service Scheduler, this requires port forwards to the Service Scheduler server port (default 8090) and then a public URL back to this instance set into sms_http_reply_url. (eg http://mycompany.com:8090)
Check with your IT or network administrator that the Service Scheduler server can access primary.smartmessagingservices.net/gateway/services/SMSService?wsdl
|
sms_confirm_to_email |
Email address SMS delivery confirmations are sent to. Not Required |
|
sms_default_reply_email |
Default email address for SMS replies. (required if sms_reply_type = 1) |
|
sms_http_reply_url |
HTTP url for SMS replies, port should match port service is running on. (required if sms_reply_type = 1) |
|
sms_integration |
SMS integration enabled. (0 = False, 1 = True) |
|
sms_max_message_days_age |
Maximum age of message before SMS message is expired. |
|
sms_max_message_size |
Maximum Size of SMS Message (160 characters is 1 standard message) |
|
sms_password |
SMS webservice password. |
|
sms_reply_type |
1: Reply to email. 2: HTTP Reply to Service Scheduler. |
|
sms_scheduler_enabled |
Scheduler will only allow transmission of SMS messages during certain time period. |
|
sms_scheduler_end_time |
SMS Scheduler end time. |
|
sms_scheduler_start_time |
SMS Scheduler start time. |
|
sms_username |
SMS webservice username. |
|
sms_wsdl |
SMS webservice WSDL. Leave as default primary.smartmessagingservices.net/gateway/services/SMSService?wsdl |
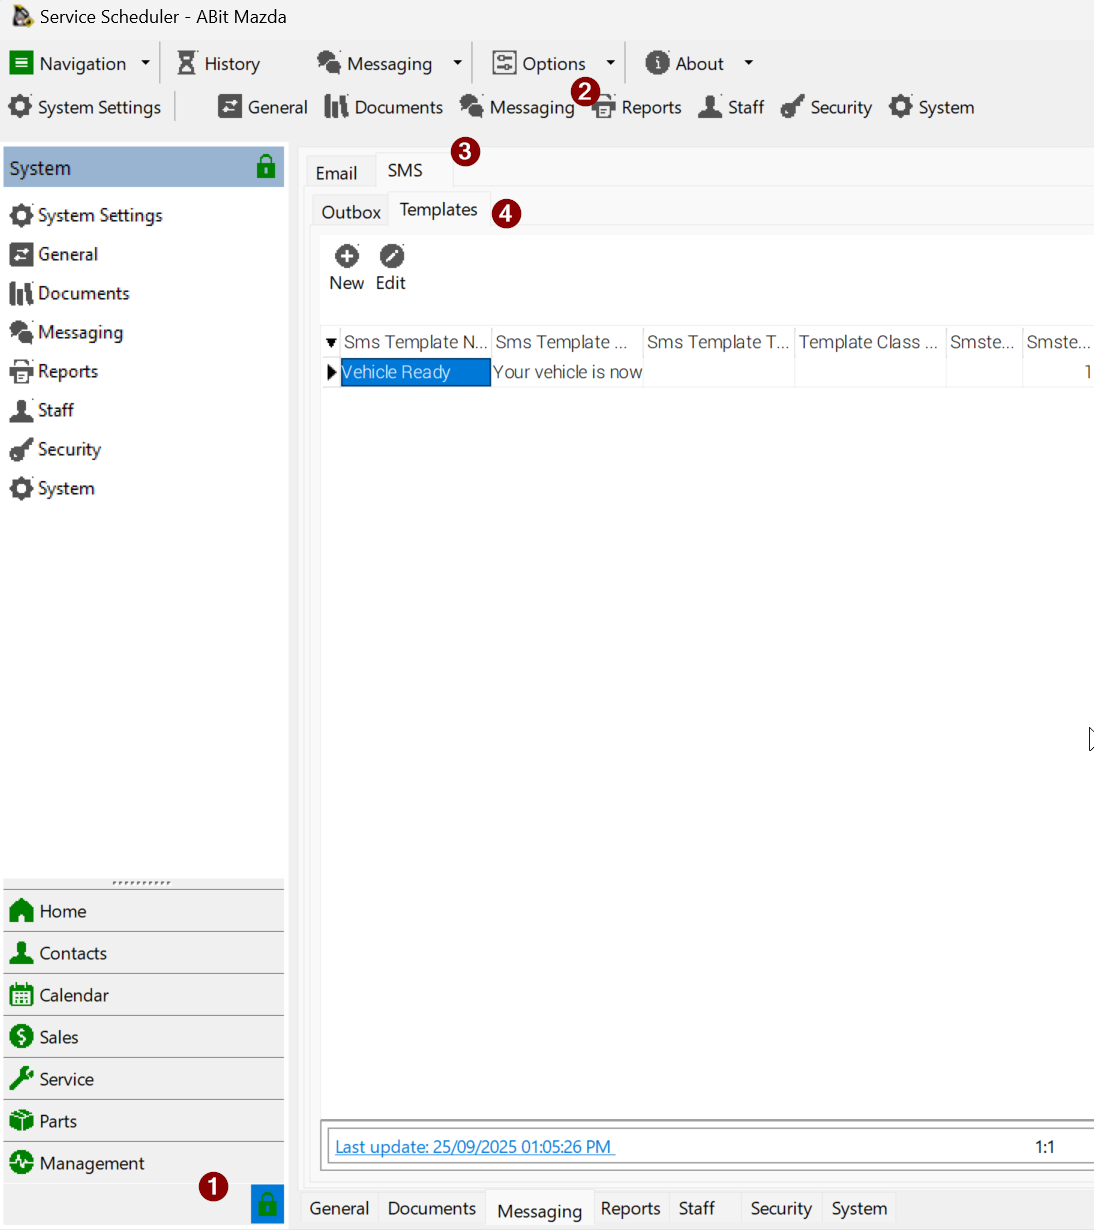
SMS Templates
SMS templates are available under System -> Messaging -> SMS -> Templates
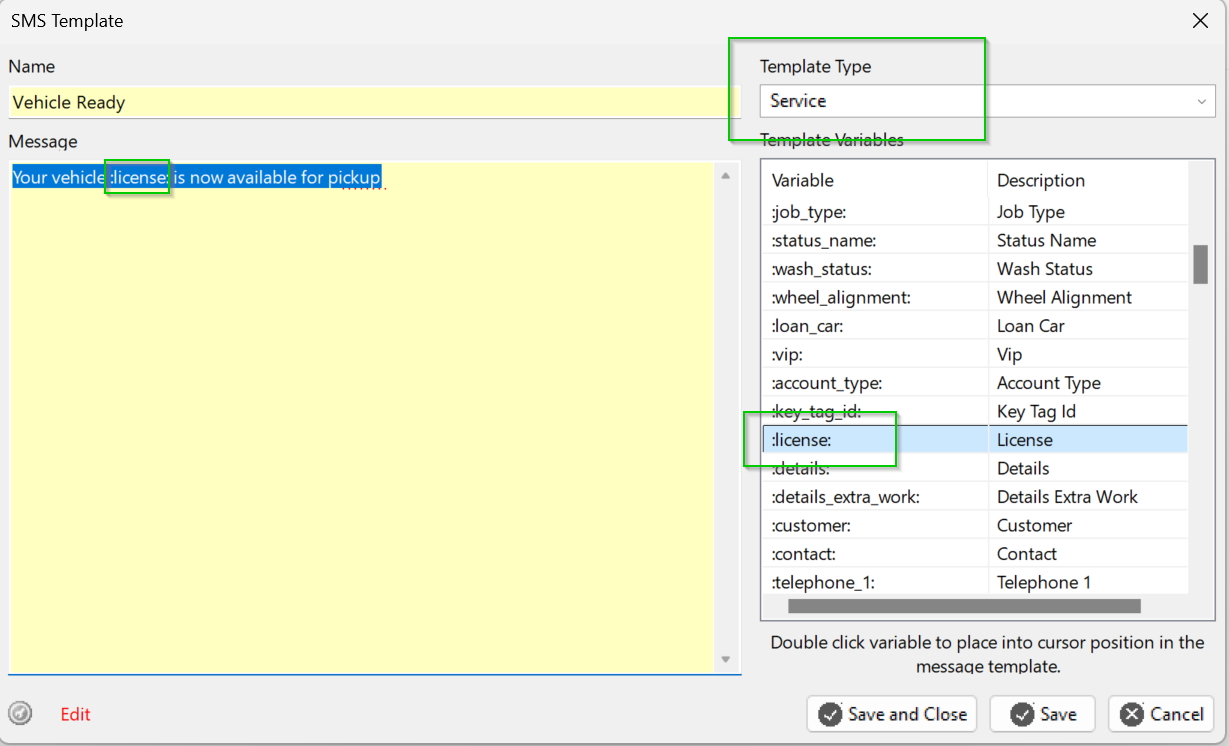
An SMS template can include data related to the module you are sending it from. For example a service job could use the field :license: to send a message that include the vehicle registration.
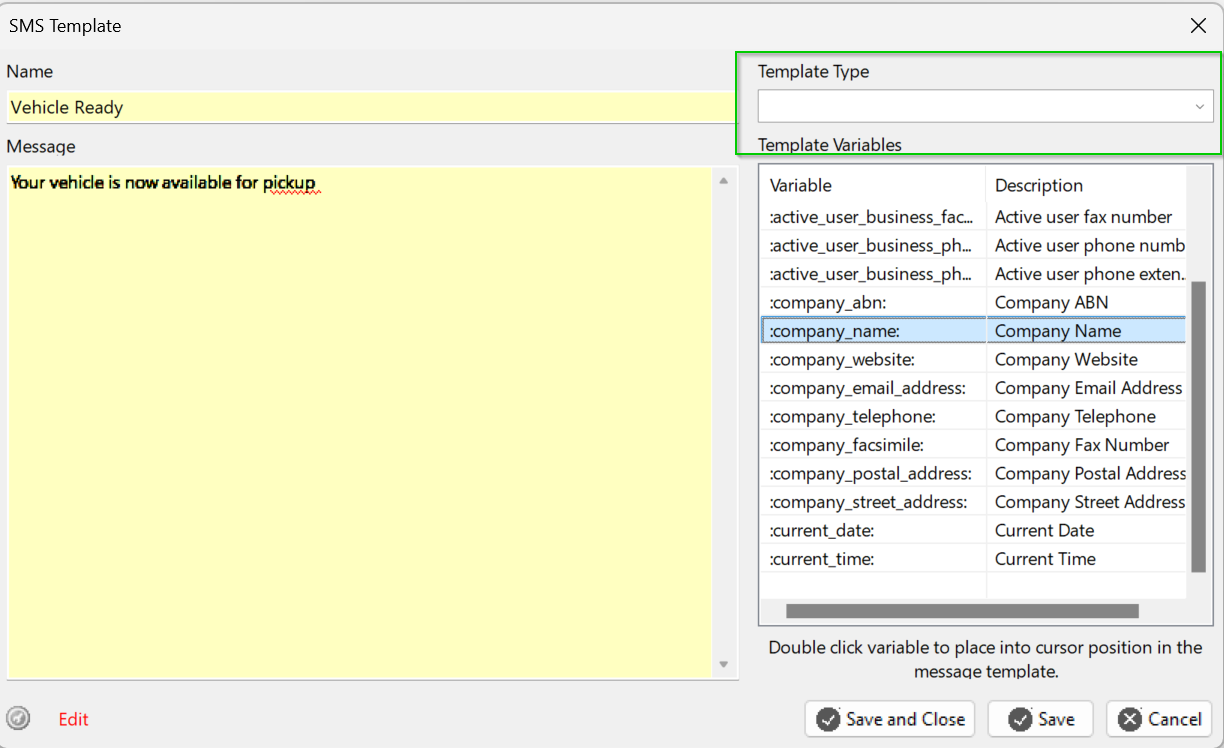
If the template type is left blank then the template is generic and can be used anywhere. This limits template fields to generic business and user details.
User administration - Azure
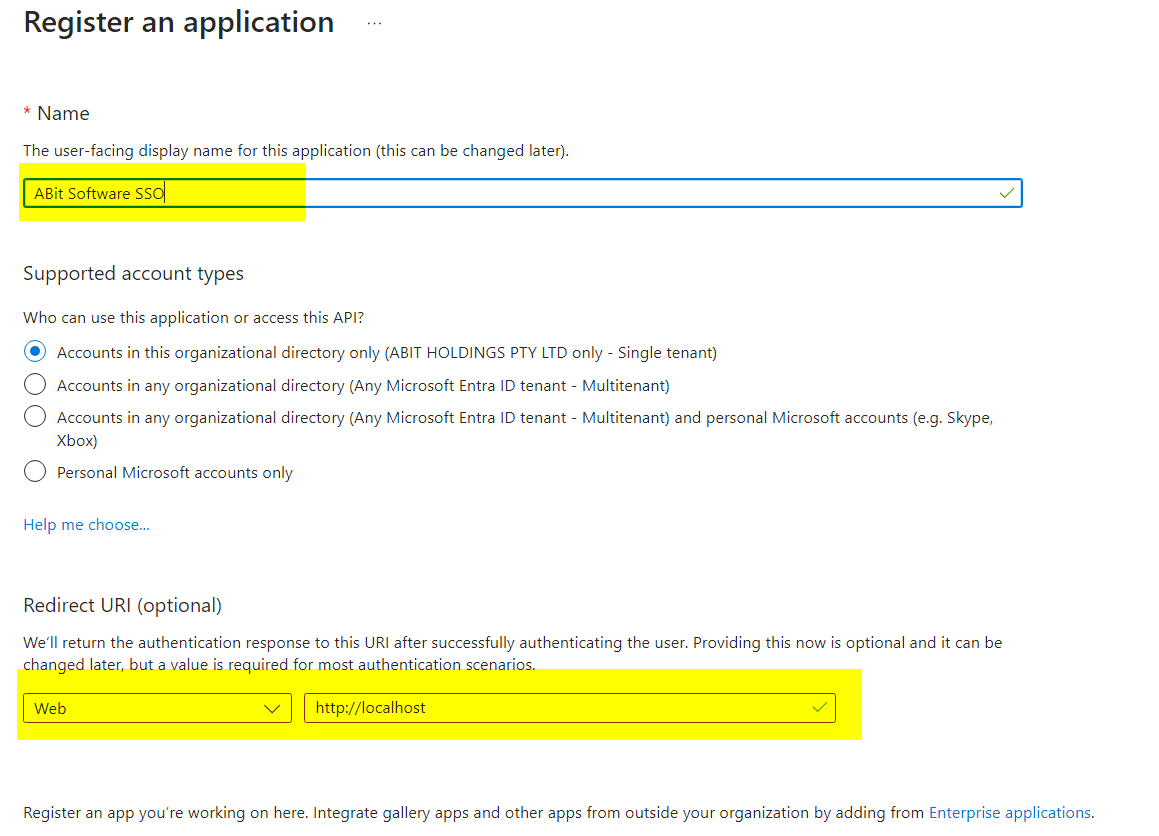
Register Entra application
Basic application setup
|
|
Create a new application and allow Web URL of http://localhost |
|
|
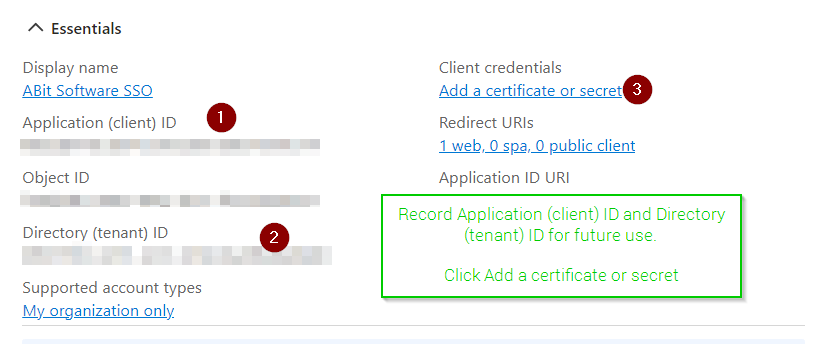
Record Application (client) ID and Directory (tenant) ID for future use.
Click Add a certificate or secret |
|
|
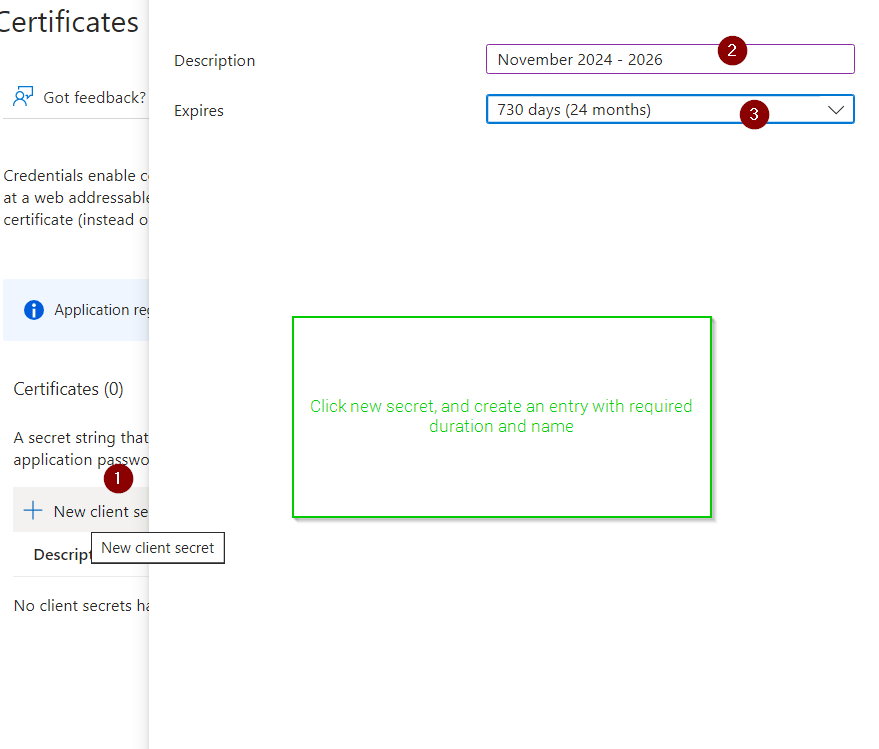
Click new secret, and create an entry with required duration and name |
|
|
Copy the value.
NOTE: you cannot view this value again. |

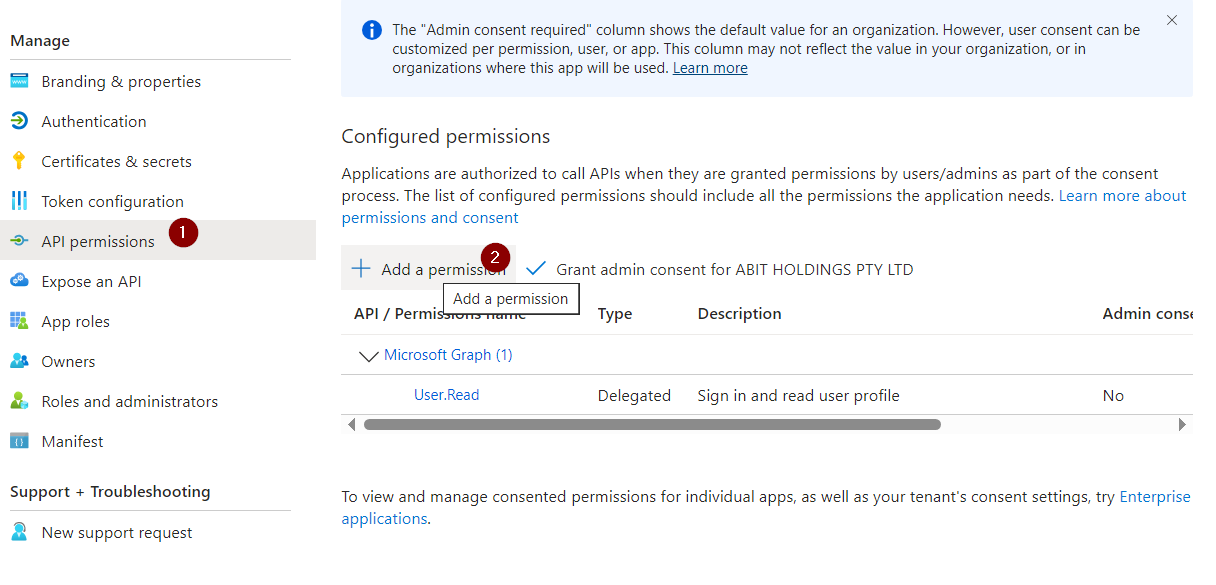
Allow groups for authentication restrictions
|
|
To access group details the API needs Group.Read.All application permission |
|
|
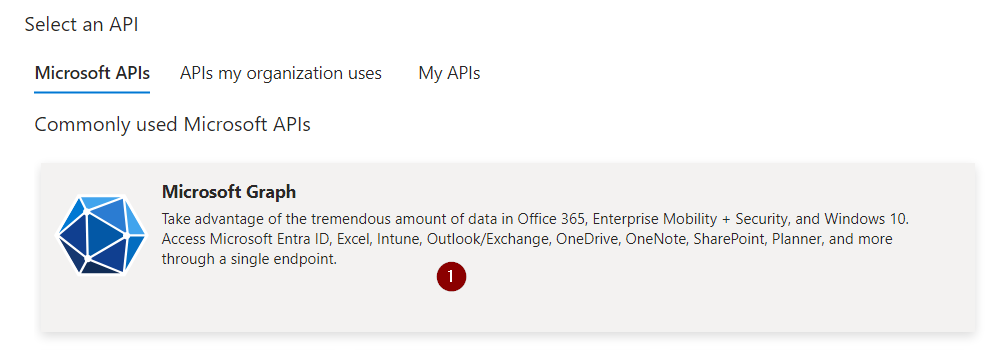
Select Microsoft Graph |
|
|
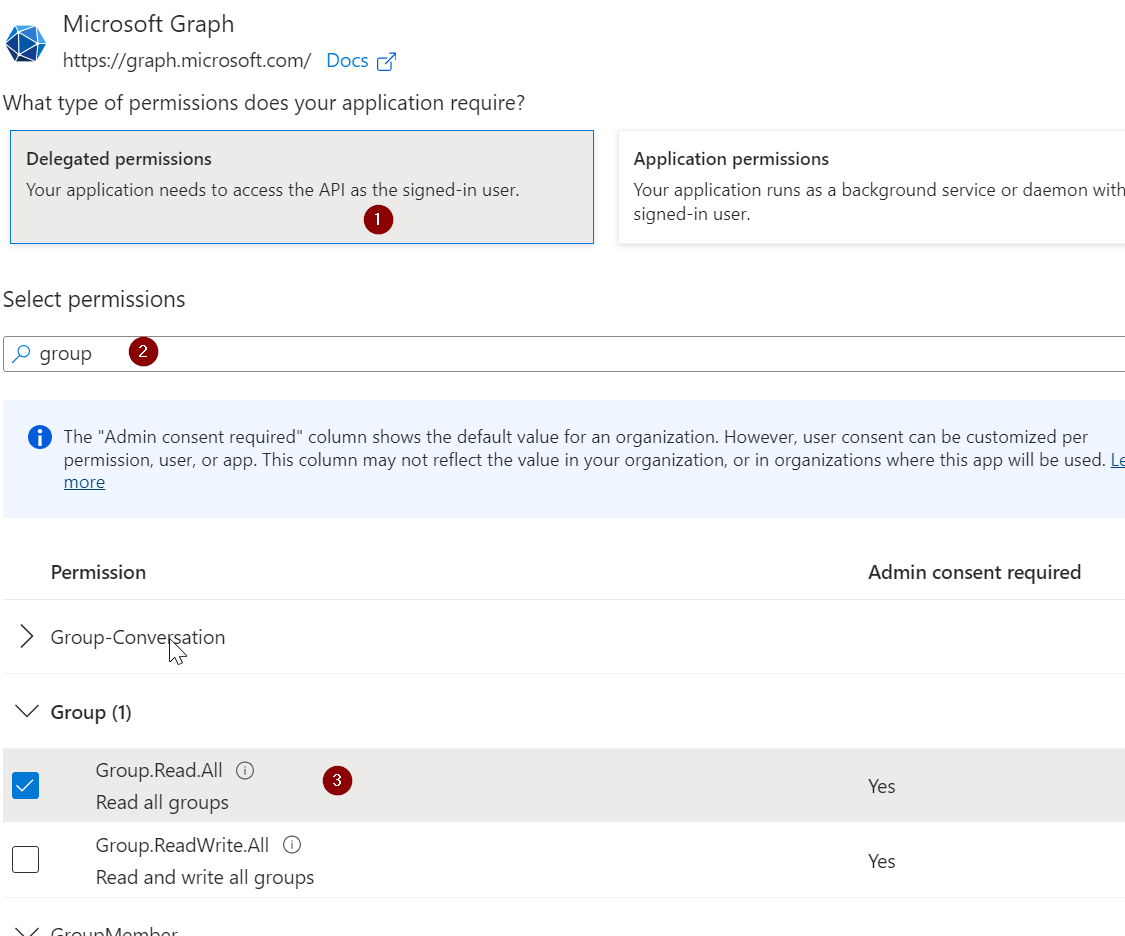
Select delegated permissions and search for group to add Group.Read.All |
|
|
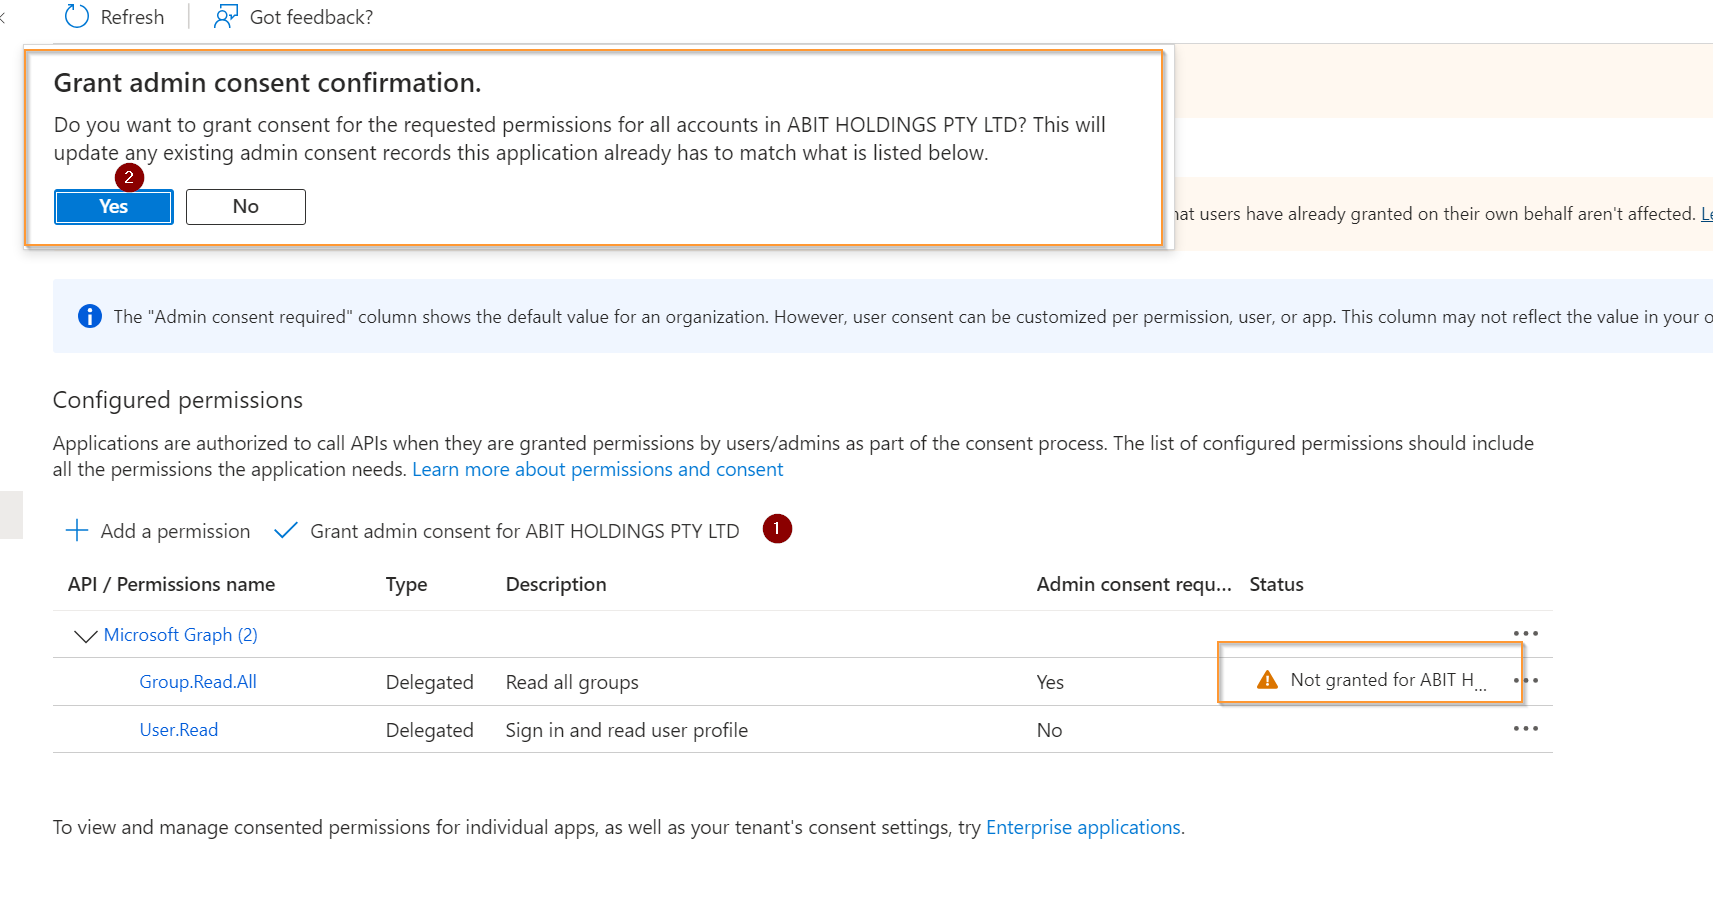
Confirm admin consent |
Update global settings
You will need the Azure clientid, applicationid and secret from the Azure Application
|
|
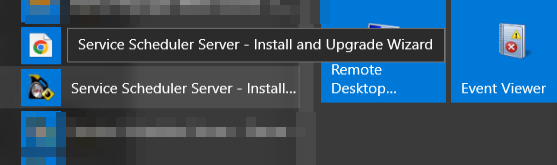
Start the Service Scheduler Install / Upgrade wizard on the server |
|
|
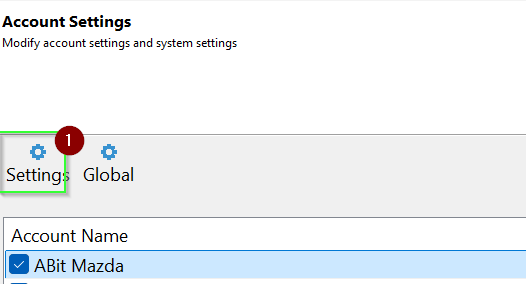
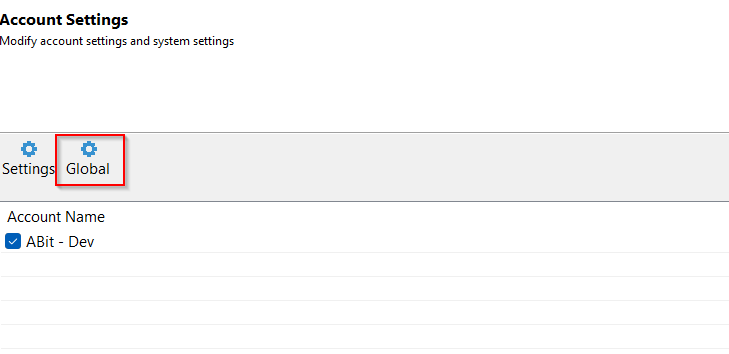
Click next until the Account Settings page and select "Global" |
|
|
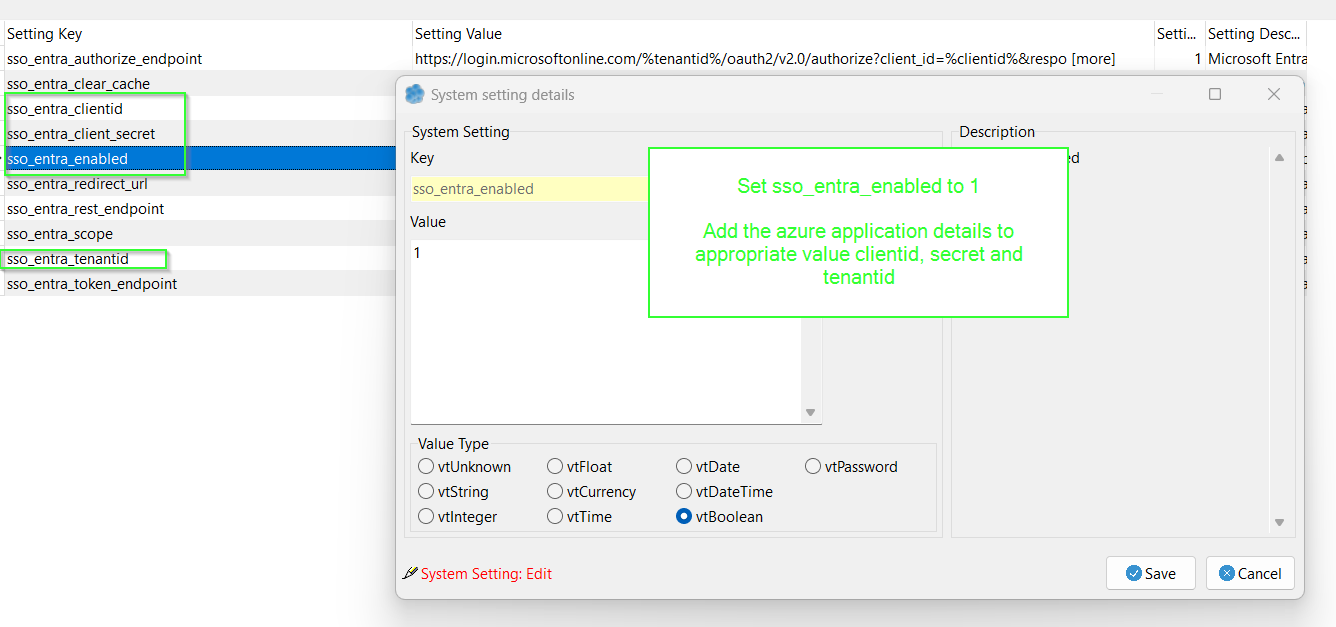
Set sso_entra_enabled to 1
Add the azure application details to appropriate value clientid, secret and tenantid |
Stop service scheduler for prompting for account on login
|
|
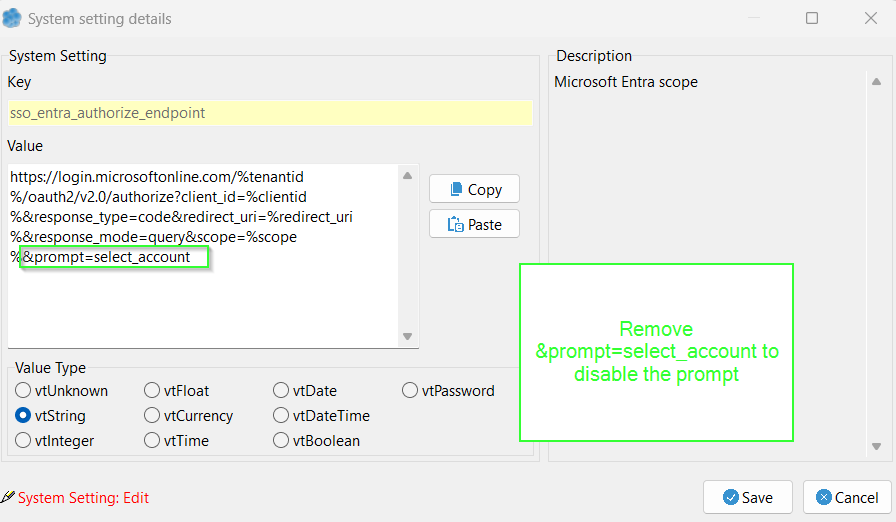
To stop the prompt adjust global setting sso_entra_authorize_endpoint |
|
|
Remove the &prompt=select_account to disable. |
Limit access to groups / UPN
For groups to work the Microsoft Entra application will need Group.Read.All permission
|
|
Start the Service Scheduler install and upgrade wizard |
|
|
Select settings |
|
|
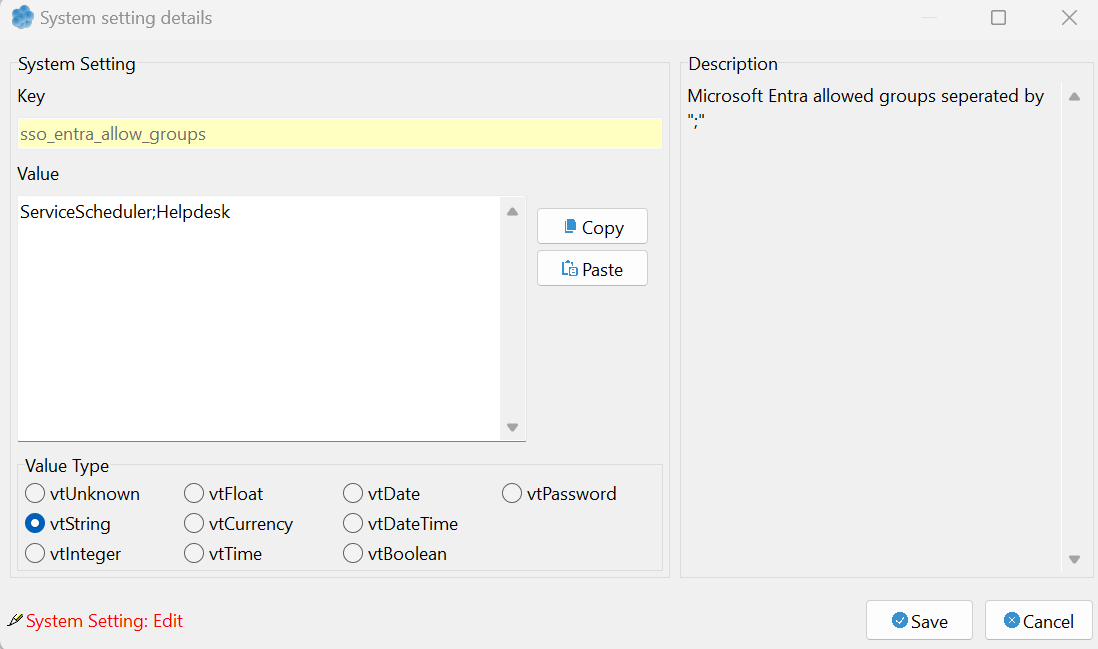
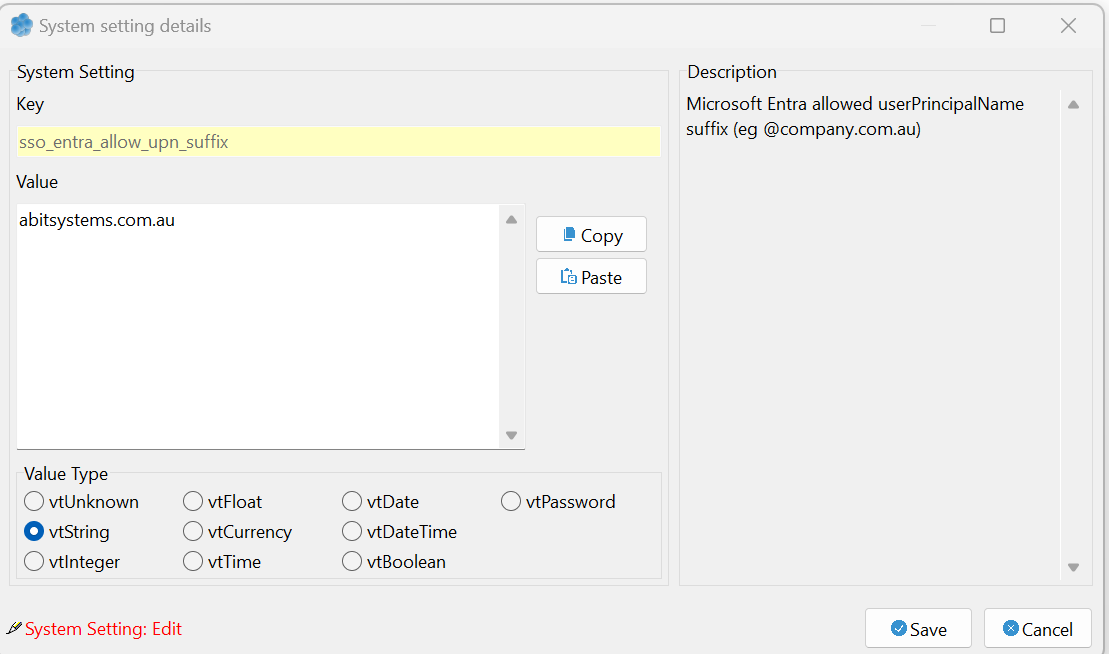
Locate the settings sso_entra_allow_groups and sso_allow_upn_suffix |
|
|
To limit access to certain group, add the group names separated by the ";" character. |
|
|
To limit to user UPN suffix enter the userPrincipalName suffix |