Stockie - User guide
- User interface
- Vendors
- Items
- Performing a stocktake
- Ordering and receipt of items
- Sales and picking items
User interface
Overview
This is a general overview of the user interface for Stockie
Login
Login options may vary depending on the environment configured for your installation
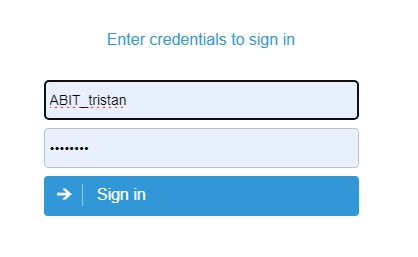
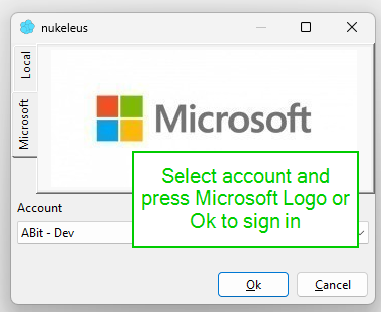
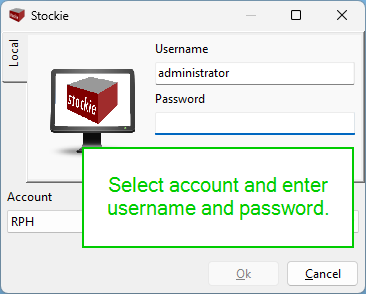
| Web hosted login | Microsoft SSO | Local or LDAP |
|
|
|
|
|
After login, select "Stockie" |
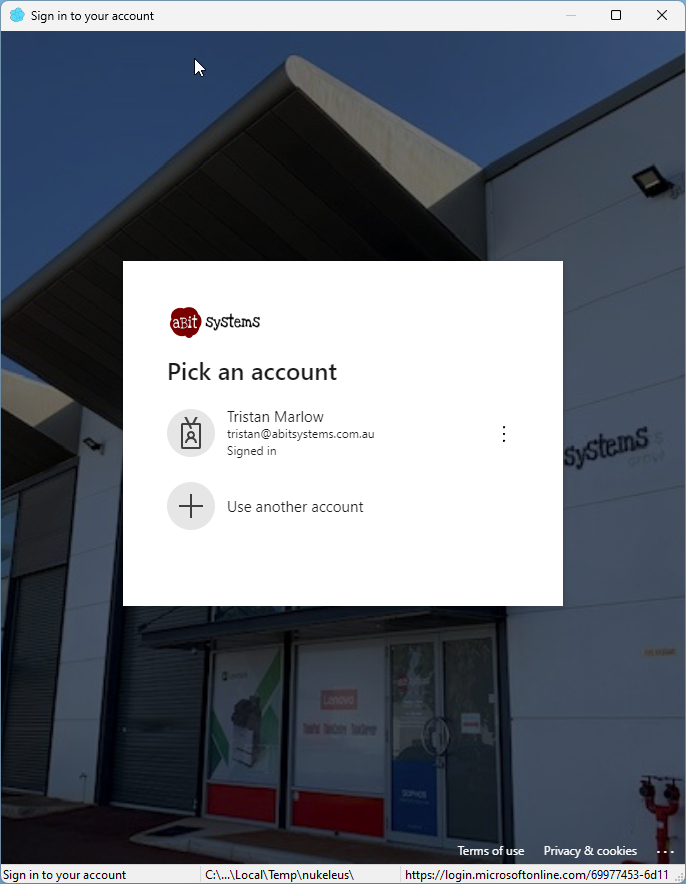
Login to Microsoft Entra |
Login complete |
|
|
|
|
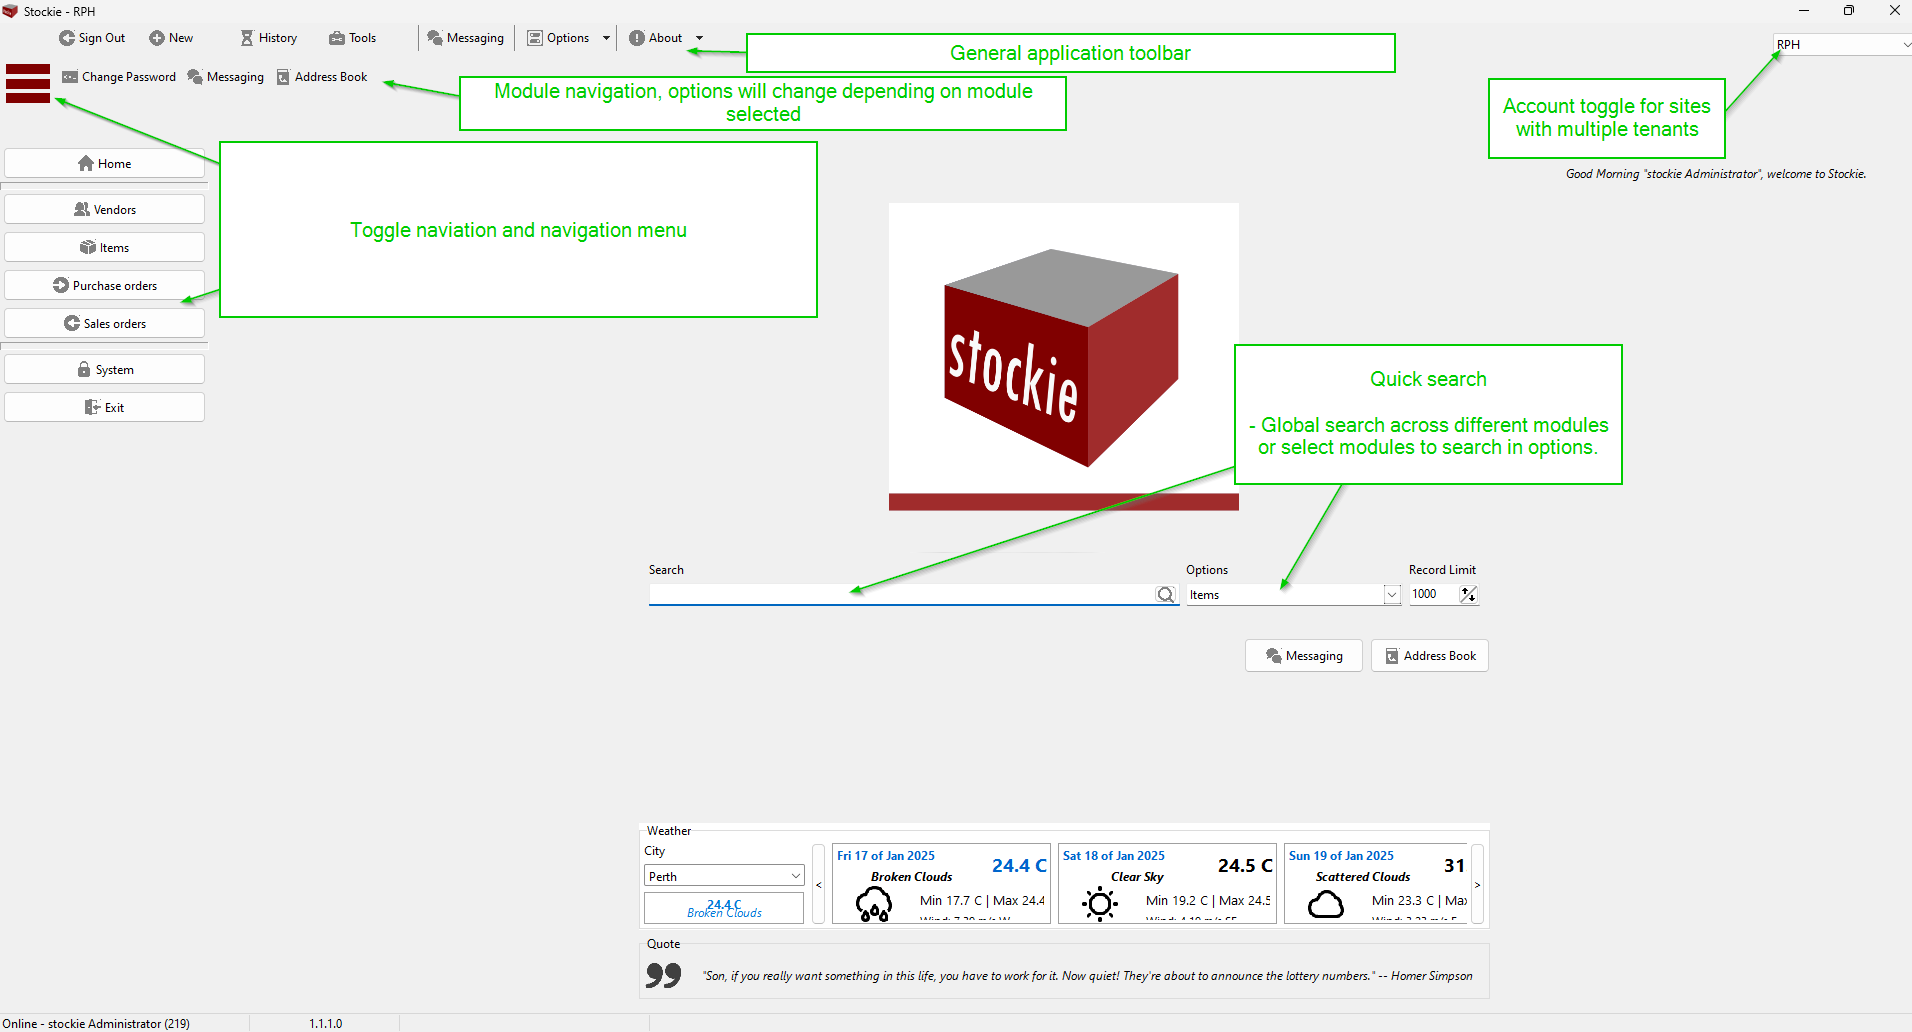
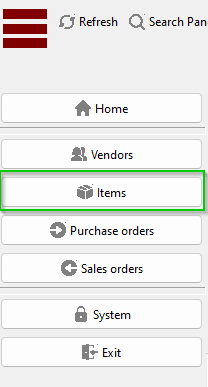
Home page and navigation
Change modules is available under the navigation menu. The home page offers quick search options
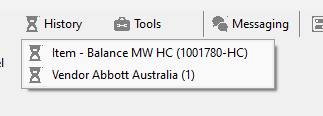
History
During use of the application, the history menu will recall the prior records you have view. Use this to quickly return to an entry.
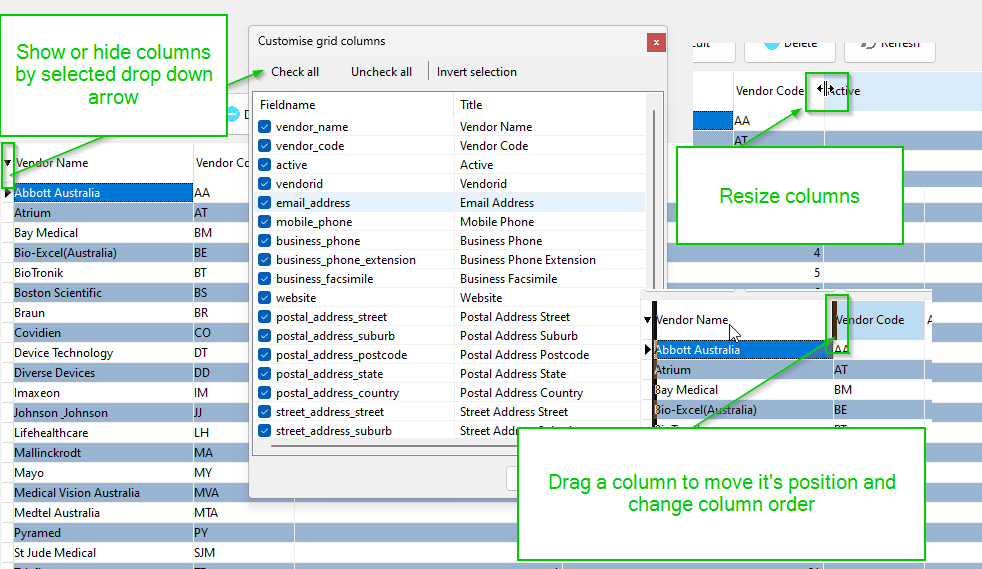
Data grids
When data is displayed in a grid it will generally have the following features available.
When columns are moved, resized or hidden this applies only to the current user each user can have a unique display.

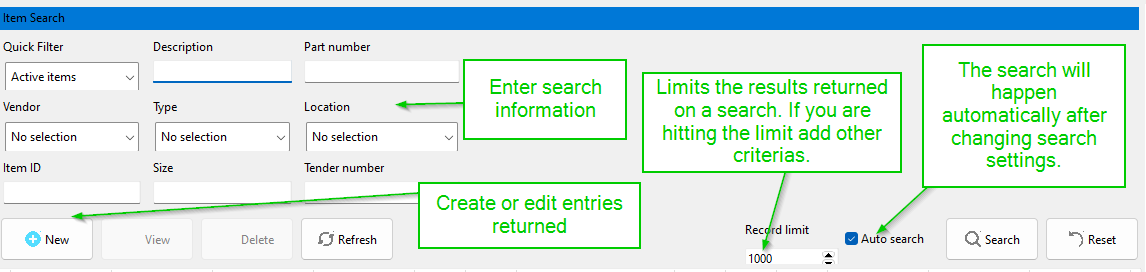
Search panels
When a search panel is available it will allow quick search of information. The panel may also automatically search when fields are modified.
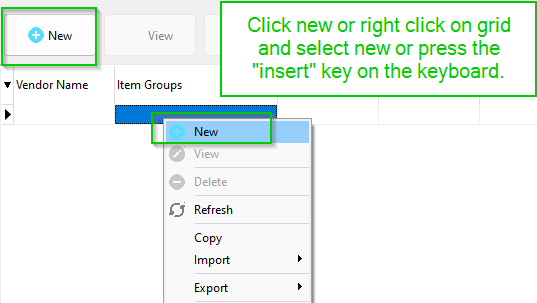
Creating new entries
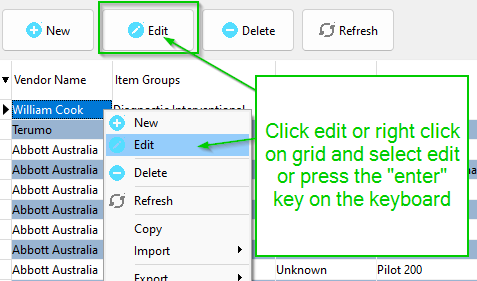
Editing existing entries
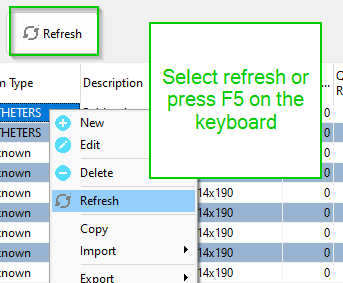
Refresh data
Spell checking
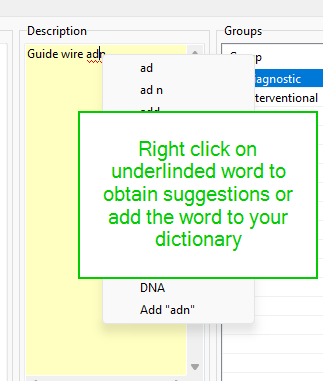
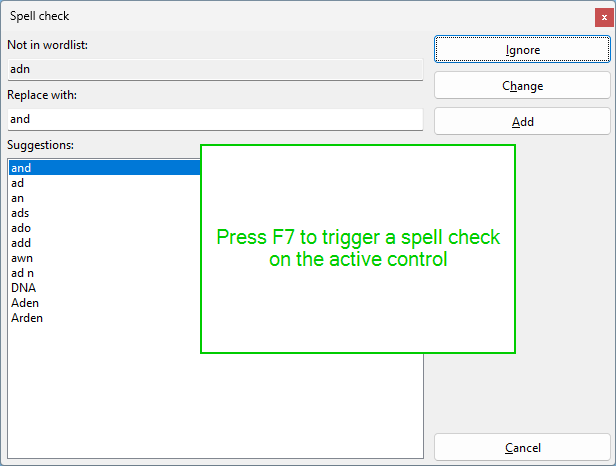
Many controls will underline words that contain mistakes. Right click on the word to fix the spelling mistake or add the word to your custom dictionary. Pressing F7 will also trigger a spell check.
 |
|
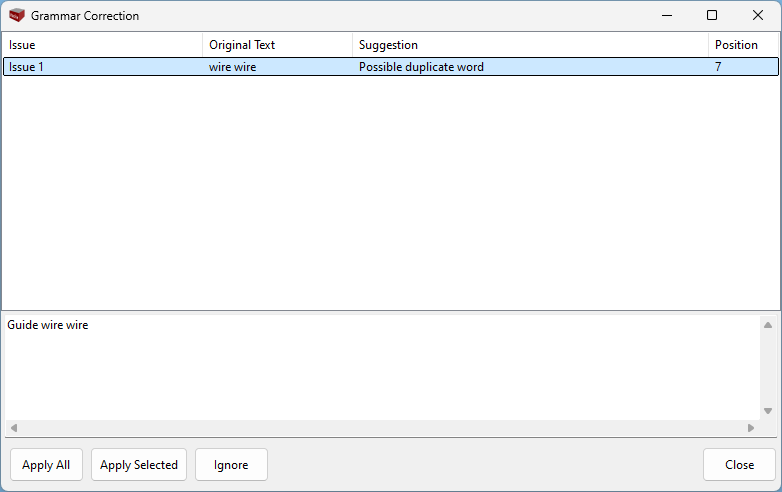
Grammar checking
Simple grammar checking features can be performed by pressing F6
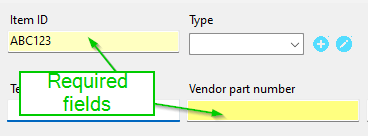
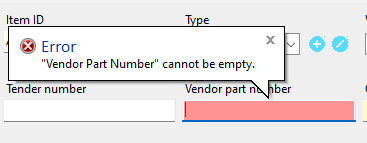
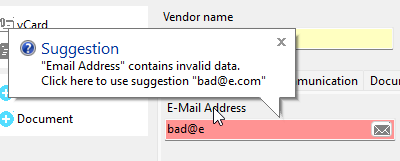
Required fields and field alerts
A field that is required will be highlighted and an entry cannot be saved without the field containing data
|
|
|
|
|
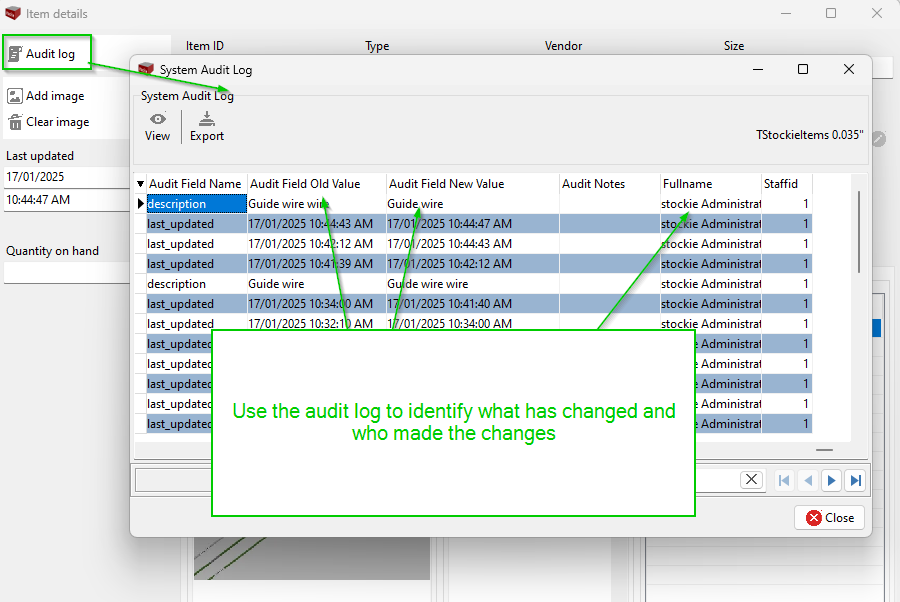
Audit Log
Most modules will include an option to view the audit log of changes to entries in the database. The audit log will contain when and who made the changes and will also provide the old and new value.
Vendors
Mange your vendors in the vendor module
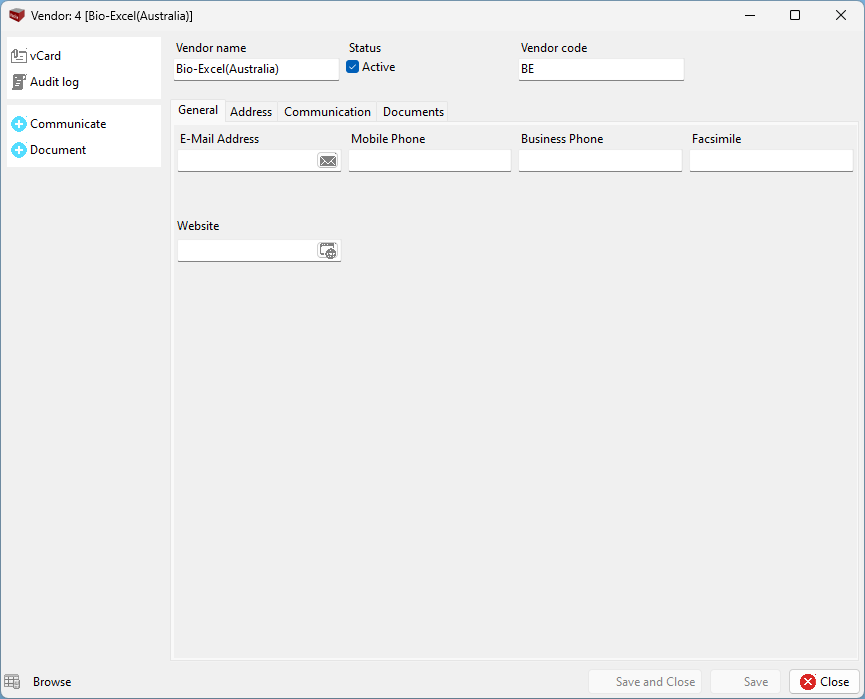
Entry details
Vendor details
Vendor code can be left blank and Stockie will generate a code.
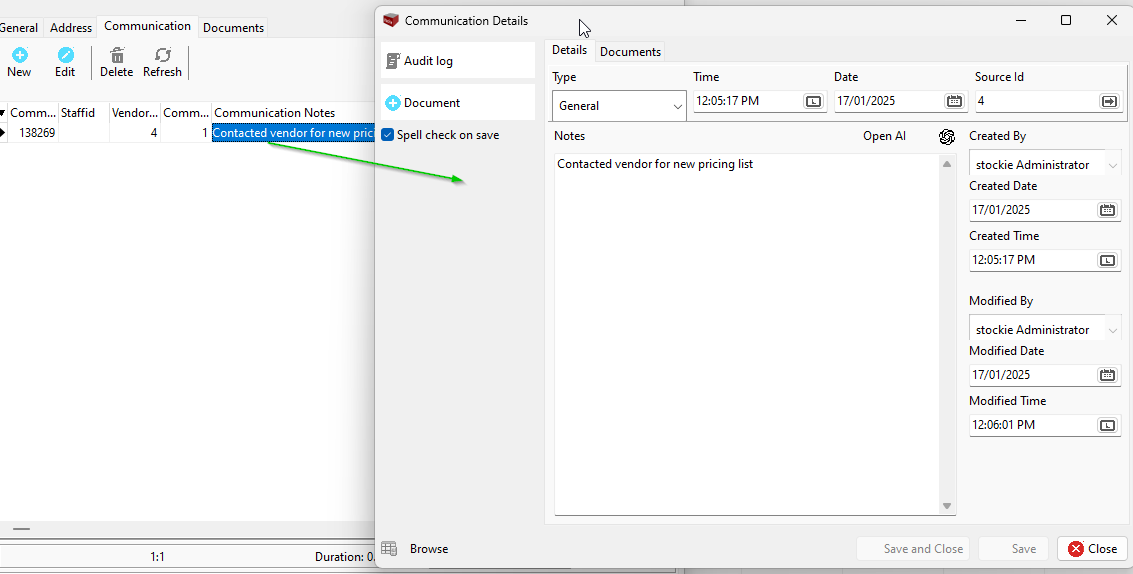
Communication
Keep a log of communication with Vendors. Documents can be stored against communication.
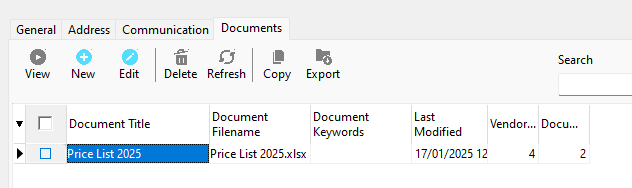
Documents
Store documents related to each Vendor
Items
Manage items in the items module
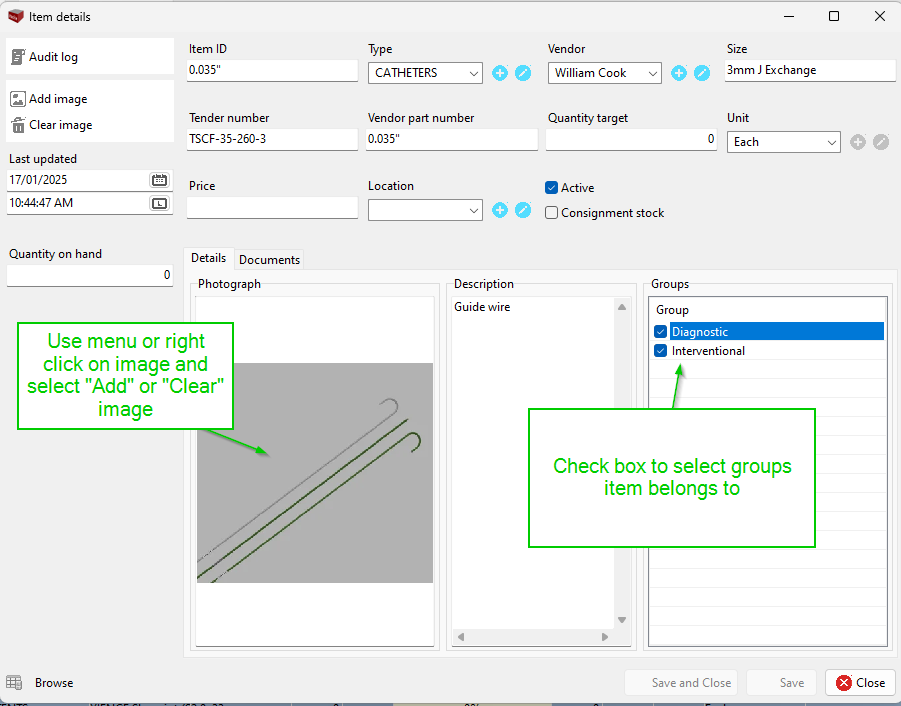
Entry details
Item details
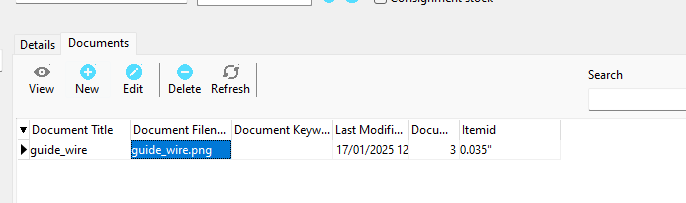
Documents
Store documents or other images against each time.
Performing a stocktake
To start or resume a stock take, navigate to Items and select one of the stocktake navigation options
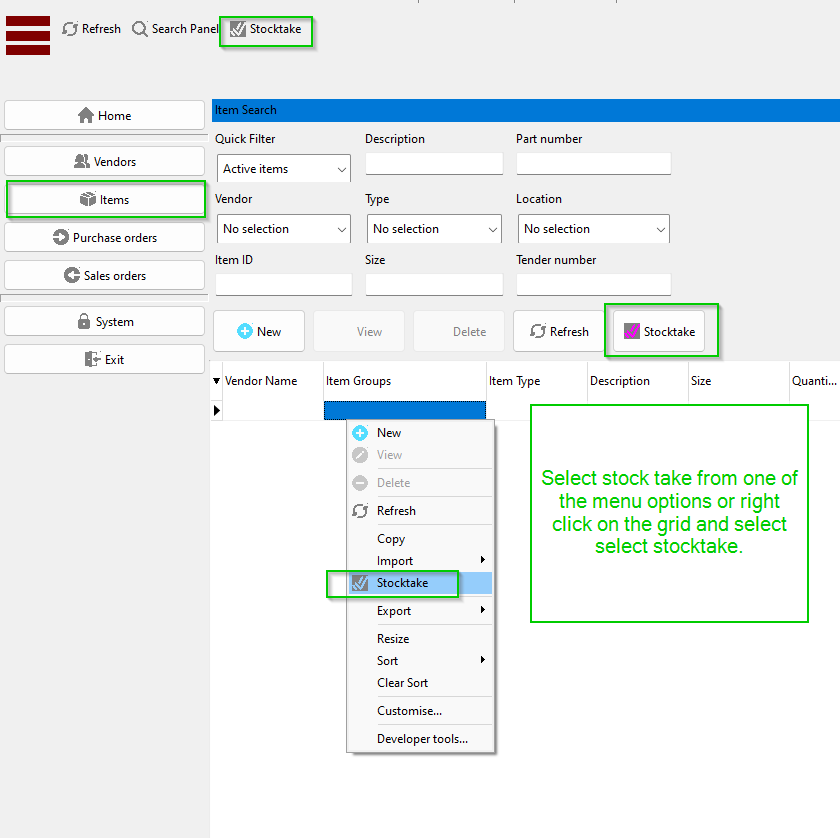
NOTE: Only stocktake can be active but you can close and resume the stocktake until it is closed or cancelled.
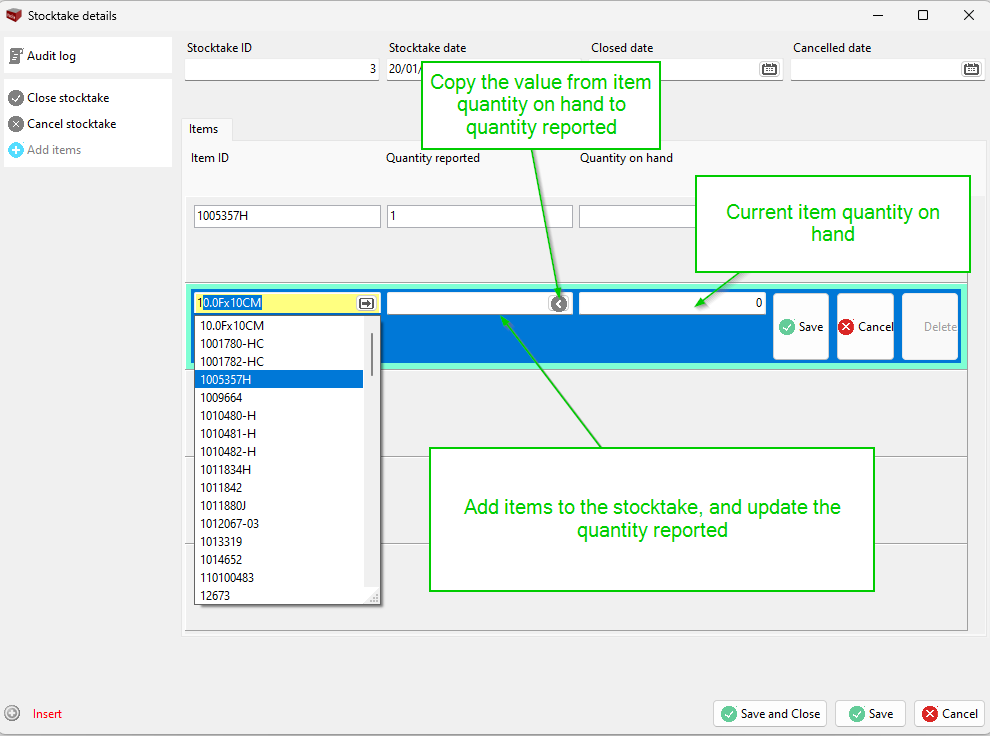
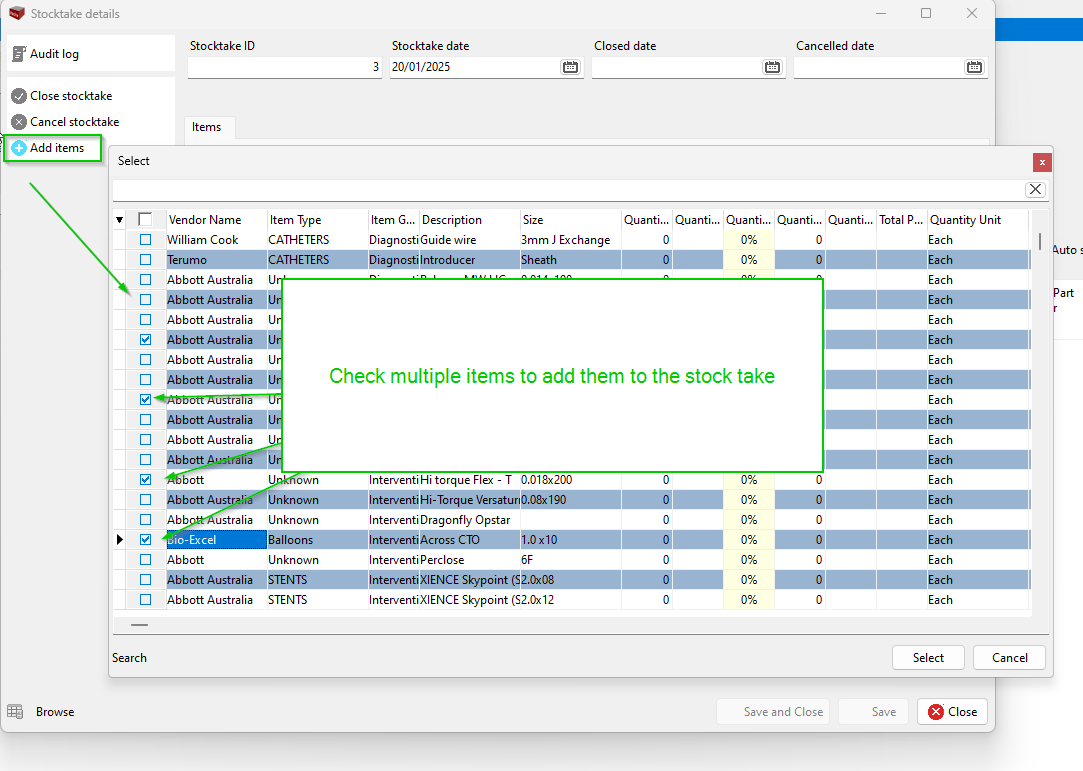
Add items to stocktake
Add items to the stocktake and update stock values
Option to bulk add items
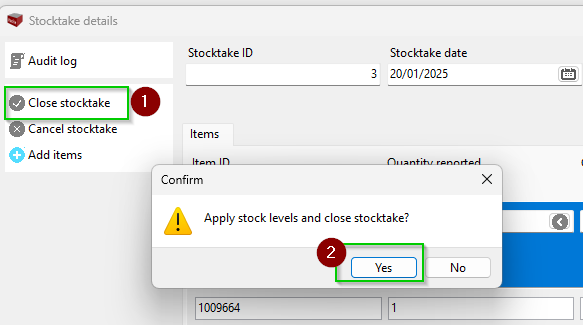
Close a stocktake
Closing a stocktake will apply the new stock levels and close the stocktake.
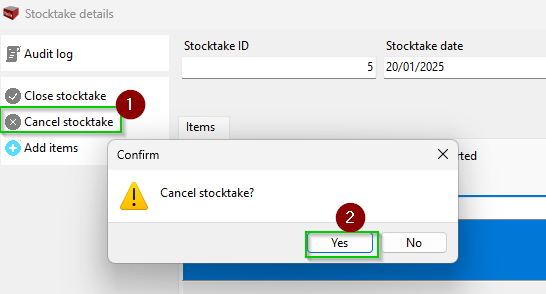
Cancel a stocktake
Cancelling a stock take will not apply any stock levels and close the stocktake so it is no longer available.
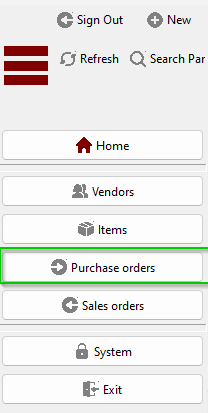
Ordering and receipt of items
Select purchase orders from the navigation menu
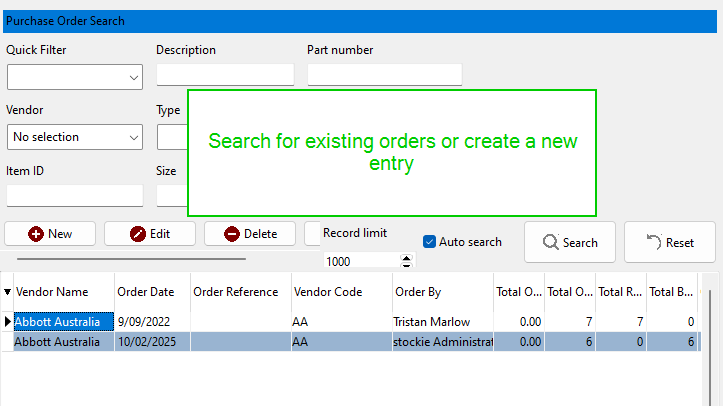
Creating or editing purchase orders
Search for existing or create a new entry
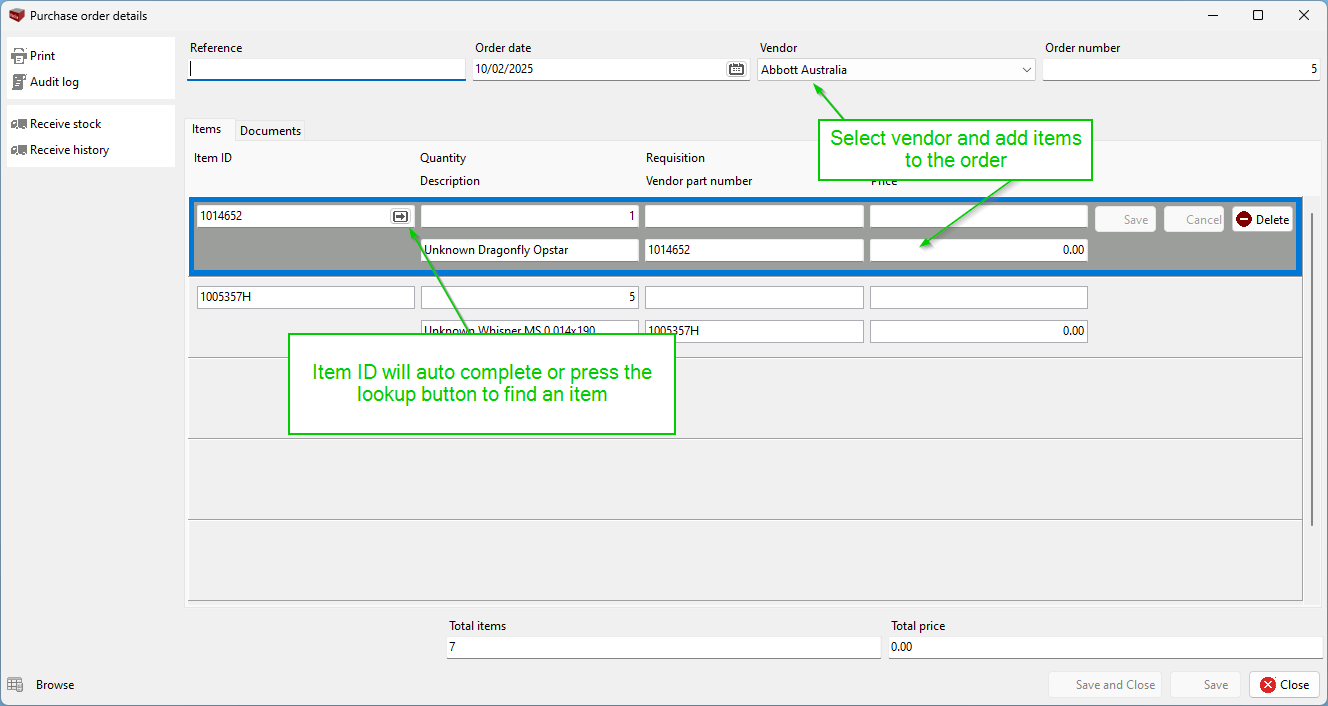
Select vendor and add purchase order items
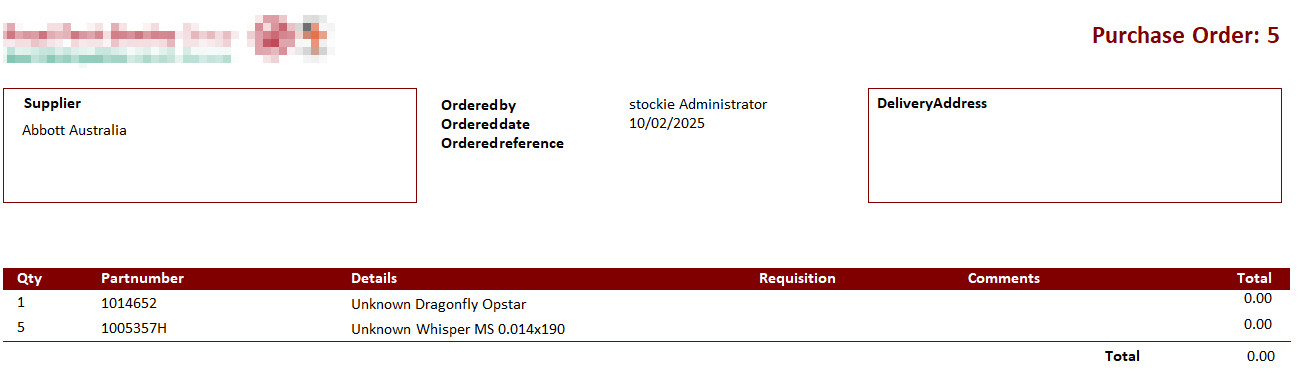
Print purchase order
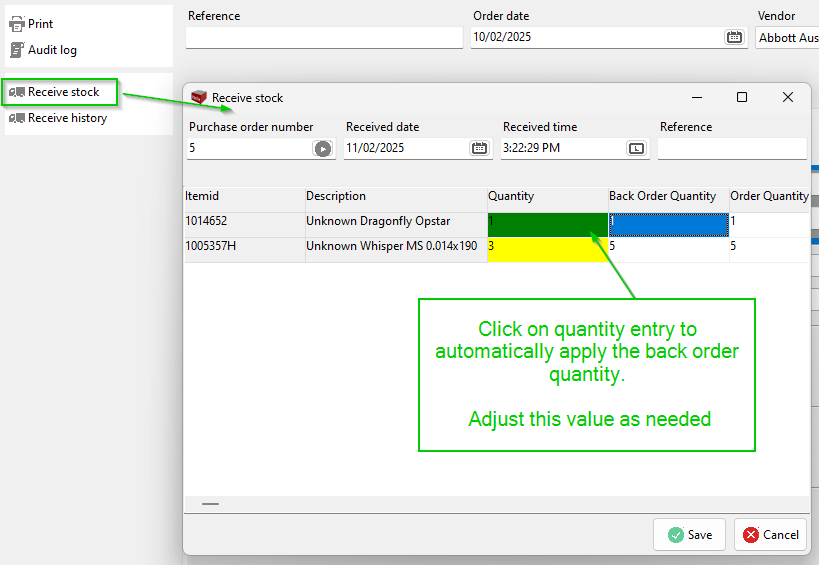
Receive stock
When stock has been received locate the purchase order and select "Receive stock". Adjust the quantities that have been received.
Clicking in the quantity field will automatically apply the back-order quantity, adjust this value as needed.
Values less than the expected quantity will be highlighted yellow. Values high than the quantity will not be allowed.
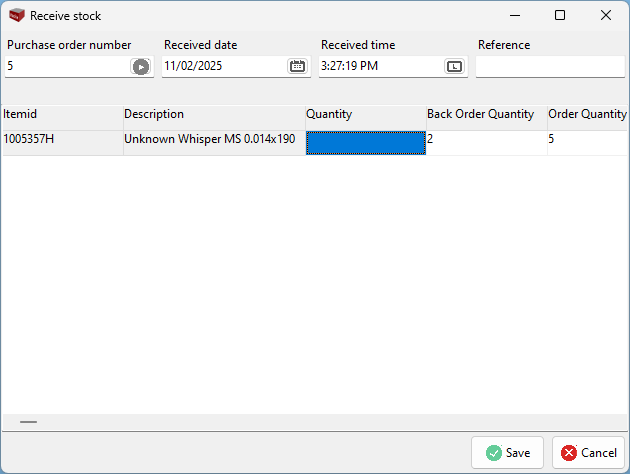
If the order was incomplete and items are still on back order, when stock arrives press "Receive stock" again. Only the pending items will be displayed.
Receive stock history
Select Receive history to view stock receipt history.

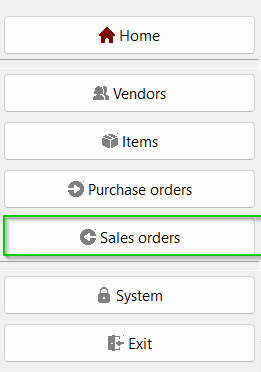
Sales and picking items
Select sales order
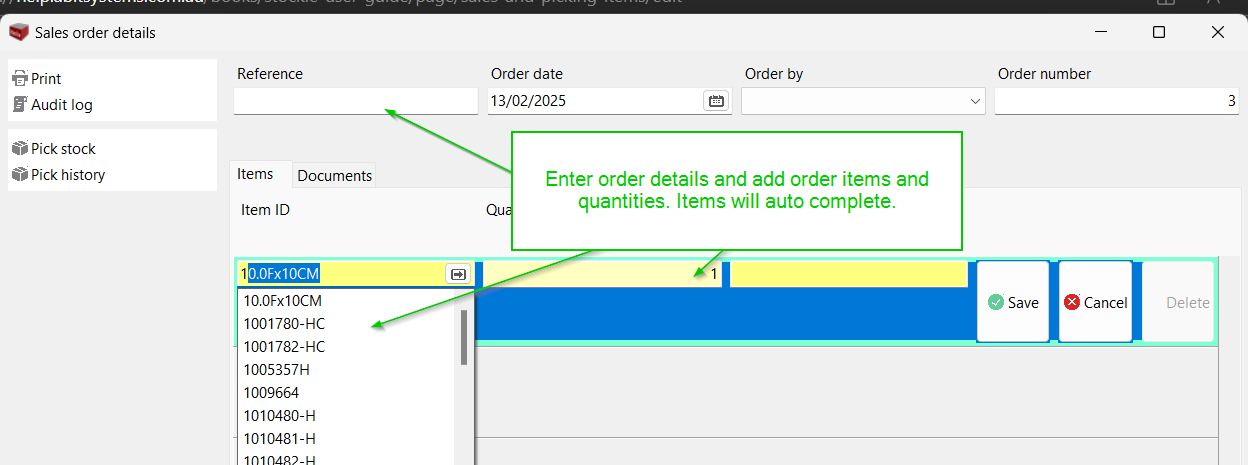
Creating or editing sales orders
Search for existing or create a new entry

Enter order details and items
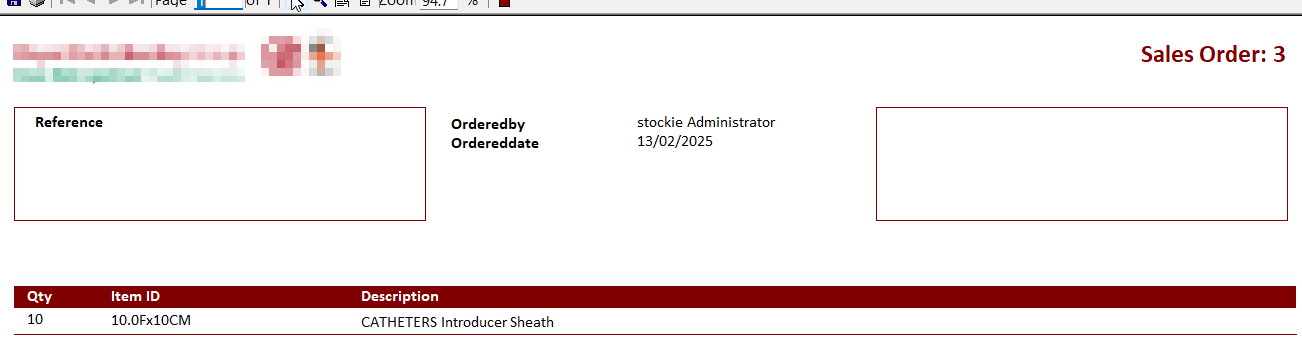
Print sales order
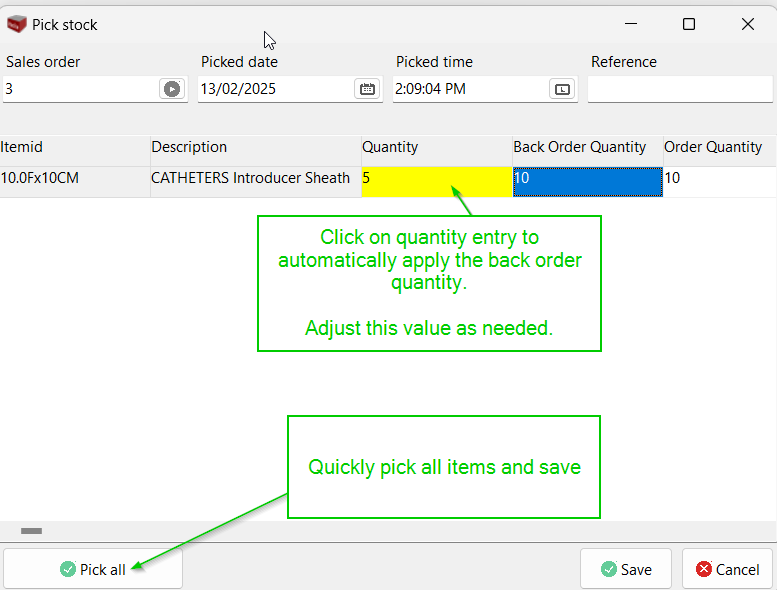
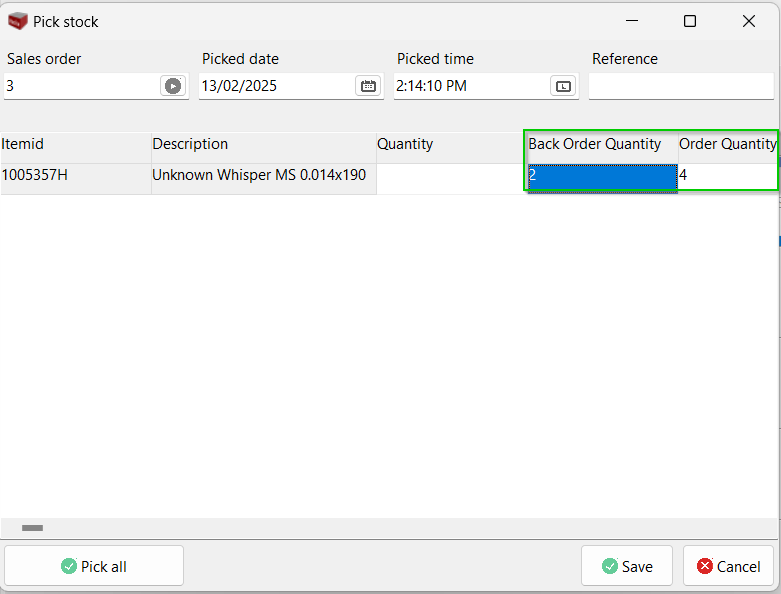
Pick stock
When stock has been picked
Clicking in the quantity field will automatically apply the back-order quantity, adjust this value as needed.
Values less than the expected quantity will be highlighted yellow. Values high than the quantity will not be allowed.
If the order was incomplete and items are still on back order, when stock arrives press "Receive stock" again. Only the pending items will be displayed.
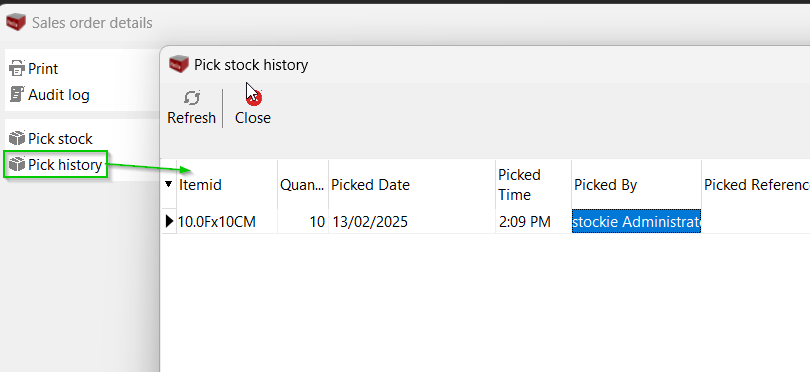
Pick history
Select Pick history to view picking list history.